I've had a busy old week - an article for Lavina Stamps in PaperCraft Essentials, a blog post for PaperArtsy looking at how Distress Oxides react to PaperArtsy Fresco Chalk Acrylic paints, and today, an online article for Lavinia Stamps which you can read HERE. Whilst you're over there, check out Tracey's new stamp designs, they are absolutely stunning.
What an absolute honour it is to have been asked to be one of Jo Firth-Young's Wingmen for her new stamp launch, alongside the fabulously talented Keren Baker. This is a long post as I'm sharing four projects, one for each stamp set!
It has been so hard keeping it a secret from my stamping buddies but the day is finally here so I can share the projects I've made with these wonderful stamps. Jo Firth-Young and Keren Baker are also sharing their amazing samples over on their blogs, so don't forget to hop over there for more inspiration.
JOFY 49
I just love this poppyseed-like flower, and those tiny ones are itching to be stamped on stickers and in my planner. I also really like Jo's handwriting and love the effect you get when repeat stamping it until all the ink has gone from the stamp. It makes for a great textured background.
To make this tag I used Paper Artsy Fresco Paint in Turquoise, Zucchini and Hyde Park and placed small blobs of each colour on a mat. I added water to each 'blob' with a paintbrush so that I could 'smoosh' the tag through the paint. I use this technique a lot with ink and wondered if it would also work with paint..
.. it did! And makes for a fabulous watery background.
After repeatedly stamping the word 'wildflowers' with Archival Cornflower Blue I used the same ink through stencil 038 JOFY. I then set this aside whilst I made the flowers.
I coloured some paper using Paper Artsy Fresco Paint in Bougainvillea and Cherry Red, smooshing it around with a baby wipe, before stamping the word 'wildflower' with Archival Magenta Hue. I also created some green paper using Paper Artsy Fresco Paint in Zuccini and Hyde Park in the same way.
I inked up the whole of the written phrase with a black Versafine and stamped it until the ink ran out to create a black and white paper.
I then stamped and fussy cut the flowers as shown.
After layering the flowers on the tag I added some shading using a simple pencil.
And finished off the tag with a snippet of pink paper and the word 'wildflowers'.
JOFY 50
Jo's stamps often make me want to add stitching to my projects and this set is no exception.
step 1: Paint a strip of card with Paper Artsy Fresco Paint in Zuccini.
step 2: Take a slightly thinner strip of card and stamp flowers using the black Versafine ink pad.
step 3: Paint between the flowers with Paper Artsy Fresco Paint in Turquoise and paint the flowers with Bougainvillea, using plenty of water to give a watercolour effect.
step 4: Using a deep red embroidery thread, add french knots to the flowers. Use a green thread to add tiny stitches as shown. Use the end of a paintbrush dipped in Paper Artsy Fresco paint in Zuccini to add tiny dots of green.
step 5: Layer these two pieces as shown and add stitching with a sewing machine.
step 6: Stamp three butterflies using a black Versafine inkpad, cut out and add to card. I worked out where they would go then stamped them on the card so I didn't need to cut out the antennae!
JOFY 51
For this next stamp set I got out my gelli plate. That sunflower is a fabulous size for journal pages and although I've made a card for this sample, I'd love to repeat this in my journal.
I started by adding a couple of blobs each of Paper Artsy Fresco in Coral and Vanilla to the gelli plate and combining them with the brayer.
I then stamped the uninked sunflower on the plate, lifting off the paint. Once the paint was dry on the gelli plate I brayered vanilla ink over the top before taking a print....
.... then overstamping it with the sunflower in Paper Artsy Fresco in Coral. This formed the background for the card.
I coloured some paper using baby wipes and Paper Artsy Fresco Paint in Coral, Bougainvillea and Turquoise and stamped the sunflower on it with black Versafine ink.
I stamped the sunflower again, this time on paper coloured with Paper Artsy Fresco Paint in Vanilla. I only used the middle of the flower so didn't need to colour to the edges.
After cutting out the sunflower I added the Vanilla coloured middle and enjoyed painting the small circles. One of my favourite techniques (that I learnt whilst working at a paint-a-pot place!) is to add tiny dots by dipping the wrong end of a paintbrush into paint - they come out perfectly!
Finally the leaves just needed stamping onto the background with black Versafine ink (this means that the fine lines are still present when you add the green leaves) ...
the background mounting onto white card, leaves stamped onto green painted paper and added, and the flower and words added as shown.
And finally (and thanks so much for hanging in there with me for this long post, hopefully it's been worth it!) these stunning flowers..
JOFY 52
This set contains one of my favourite images - that tiny scribble at the top of the set!
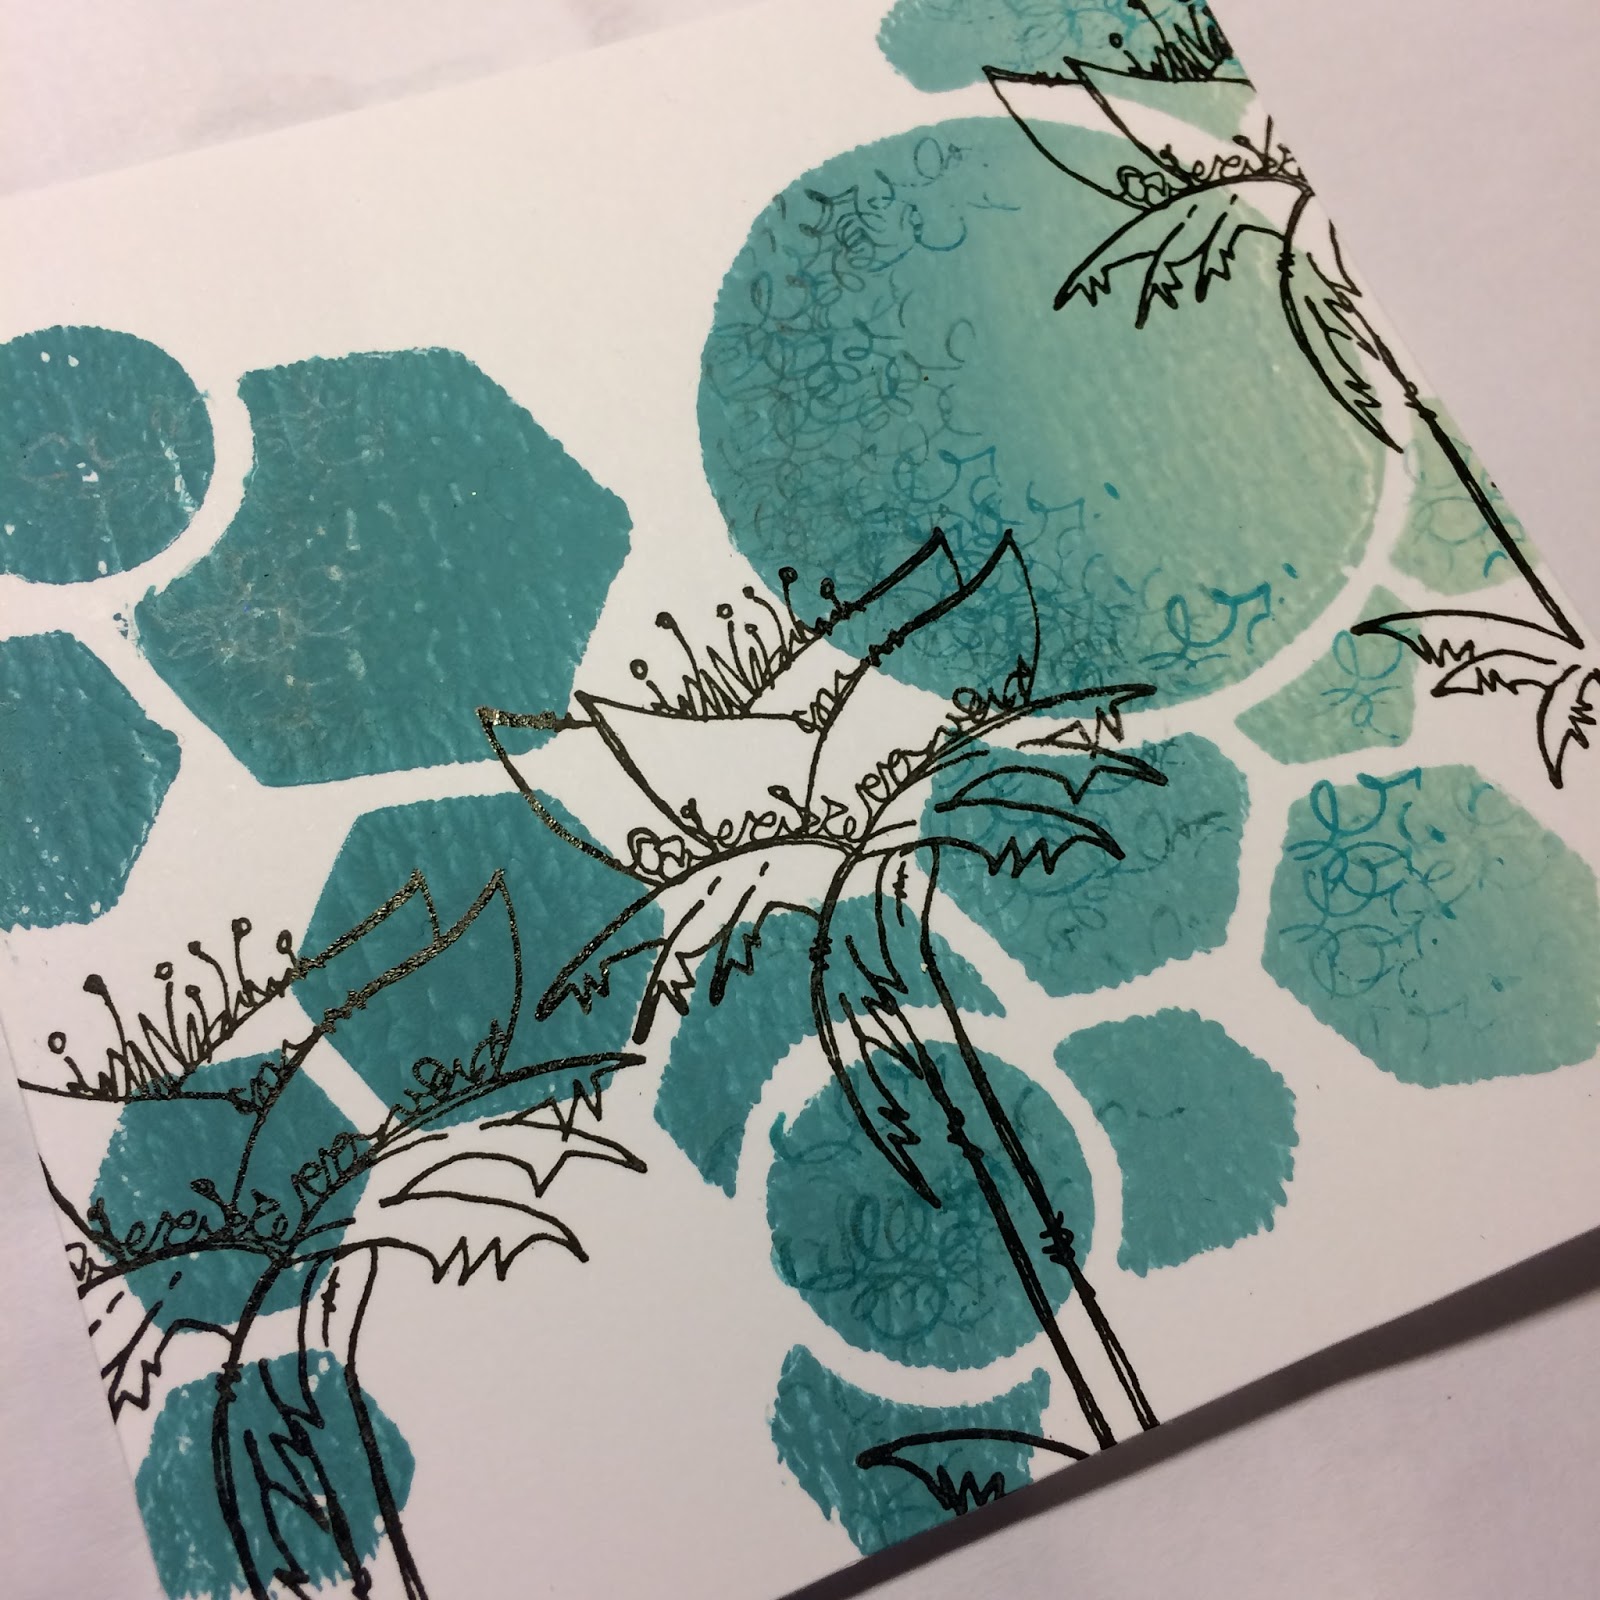
It makes for the most amazing backgrounds, and I used this effect for the flower on this card and throught the stencil.
I used my gelli plate again for this card, putting Paper Artsy Fresco paint in Turquoise on one side, Snowflake on the other, and blending them with my brayer.
Laying stencil 042 {by JOFY} on the gelli plate first I then laid a piece of card over the top and picked up the print through the stencil.
Now for that favourite stamp of mine, stamped repeatedly over a small area, then the flower stamped over the top, cut out and shaded with a soft pencil.
I used it again on the gelli plate, laying down a couple of greens (Zucchini and Hyde Park) in Paper Artsy Fresco paint, then lifting off the paint with a clean stamp. I then stamped the flower in black Versafine ink.
I laid the stencil back over the now dry gelli print and stamped through the stencil with the scribble stamp using Archival ink in Cornflower Blue as shown, before stamping the flowers in black Versafine ink.
I added the fussy cut green leaves and the flower head using a pritt stick..
... before finishing off the card with the words and some splashes of paint over the top of the flower.
I really hope you've enjoyed seeing how these projects came together as much as I enjoyed making them! Don't forget, there are more step by steps to more projects by the fabulously talented Jo Firth-Young and Keren Baker, and all the information is also on the Paper Artsy blog. I'll leave you with the video showing all the samples together:
I knew I wouldn't be able to resist playing with these stamps for long but that was hardly any time at all!! So here I am, back with a second entry for Paper Artsy's weekly challenge
I often decorate envelopes but this time I was inspired by Darcy to create an envelope from the papers I made earlier (see the previous post). I opened up an envelope, glued it to the bag of my paper then refolded it.
I knew the stamped image would be difficult as I was stamping it overlapping card but it coped better than I thought! I added a black and white image of the lady over the top.
Unlike Darcy I kept the flap at the top of the envelope (although I will give hers a go at some point), and added some of my left over bits of stamping from the previous project. The tag in this Lynne Perella set was a perfect size to fit inside my envelope .... and hey presto, two projects in one day #feeling happier :)
It's been a loooooong while since I entered a challenge but I needed a bit of cheering up [in my head I was going to be well enough to go back to work tomorrow but my body has decided it's not fit enough yet so I'm not :( ] I saw Helen's lovely cards on her blog and decided that this week's paper artsy challenge would be just the thing to make me feel better.
It was also the ooomph I needed to finally open the packet and use my Lynne Perella stamps!! I have looked, and looked, and looked at these so often as I really love the imagery; finally bought a set at Happy Stampers earlier this year; and now I've managed to use them! So thankyou paper artsy team for the inspiration I needed :) I also cracked open my poor neglected distress inks, and very rarely used distress stains.
Whilst happily clapping handfuls of water over my inked papers (just LoVe that technique!!) I thought it might be fun to have splashes of ink on there too so I put some vintage photo distress stain in my hand (I'm sure re-inker would work too but I don't have any) with some water, again merrily clapped over the papers and yes, I like the result!
Being such a huge stencil fan I happily didn't have a problem finding any to co-ordinate with the stamps :)
The lace stamp is one I've had for years from paperbag studios.
I felt the image needed grounding a bit more so used the top of the tag stamp as another border along the side. I then felt it needed something 'extra' so I stamped it on white paper and layered it again over the top.
I have used bleach in the past, wasn't going too here then decided why not? Just give it a go!! My stazon inkpads were very dry so I tried it with my versafine black inkpad and it worked - YaY :) I then worked back into the face, as Liesbeth suggests, with pencil crayons. I added highlights with both a white gel pen and a white pencil but felt like I overdid it on the eyes so went over them again with an inky sponge and then a coloured pencil. I'm happier with them now although the difference doesn't seem to show up here.
I stamped the cotton ribbon with the text section of stamp, although it's not very clear on the pics, sorry!
I will definitely be playing with these stamps again very soon. Thanks again Liesbeth for the inspiration I needed :) Her leporella accordion book is delightful and certainly worth a look if you've not seen it.