Showing posts with label step by step art journal page. Show all posts

Wednesday, 22 January 2014

SDC131: my Stars project step by step


I love stars, they're great images to work with, and they're this week's challenge theme over on the Stampotique Designers Challenge Blog.   I took step by step photos as I made this stitched piece so you could see how I got from this ...


to this...

I started with a piece of white fabric that I roughly painted with white acrylic paint then stamped Journey Collage with black ink.  To make this a bit lighter I first stamped it on paper then stamped on the fabric a number of times.


I then put Peacock Feather distress ink and some blue Dylusions ink onto the lid of a plastic box and smooshed my fabric through it.


Jo Capper-Sandon's text star is one of my favourite stamps (and I LoVe the miniature star on the side of the block, such a clever idea).  I stamped this over the fabric ...


... carefully cut out the larger stars with a very sharp pair of scissors ....


.... before laying a piece of white card underneath and stamping the star again through the star holes.  I decided to go for an approximate fit rather than matching the shape exactly...


A touch of free machining around each star ...


... and some more free machining after I found a quote I liked!


 Then a peaceful afternoon spent adding tiny silver beads around the edge of the fabric 'postcard' and some shimmery sequins amongst the stars.


If you're inspired by stars, you can join us here to read more about Sam's  challenge, then link it up here.  We'd love to see your interpretation of this challenge.

Stampotique stamps used:

“Just above our terror, the stars painted this story
in perfect silver calligraphy. And our souls, too often
abused by ignorance, covered our eyes with mercy.”

Saturday, 12 October 2013

step by step art journal page

I thought it might be fun to take step by step photos of the journal page and share them here.


I've been thinking about doing a page with leaves on for a while now and was recently given a set of leaf stamps.


I decided it might be fun to use these, although they don't lend themselves to an autumn theme, which might have been fun.  I love the colours at this time of year.


First step was to tidy my desk, then I stamped up the leaves to see how they stamped and what they looked like inked up...


I've always loved both ferns and ivy, and have plenty of both in my garden, but decided that today I'd go with the ivy leaves as a theme for my page.


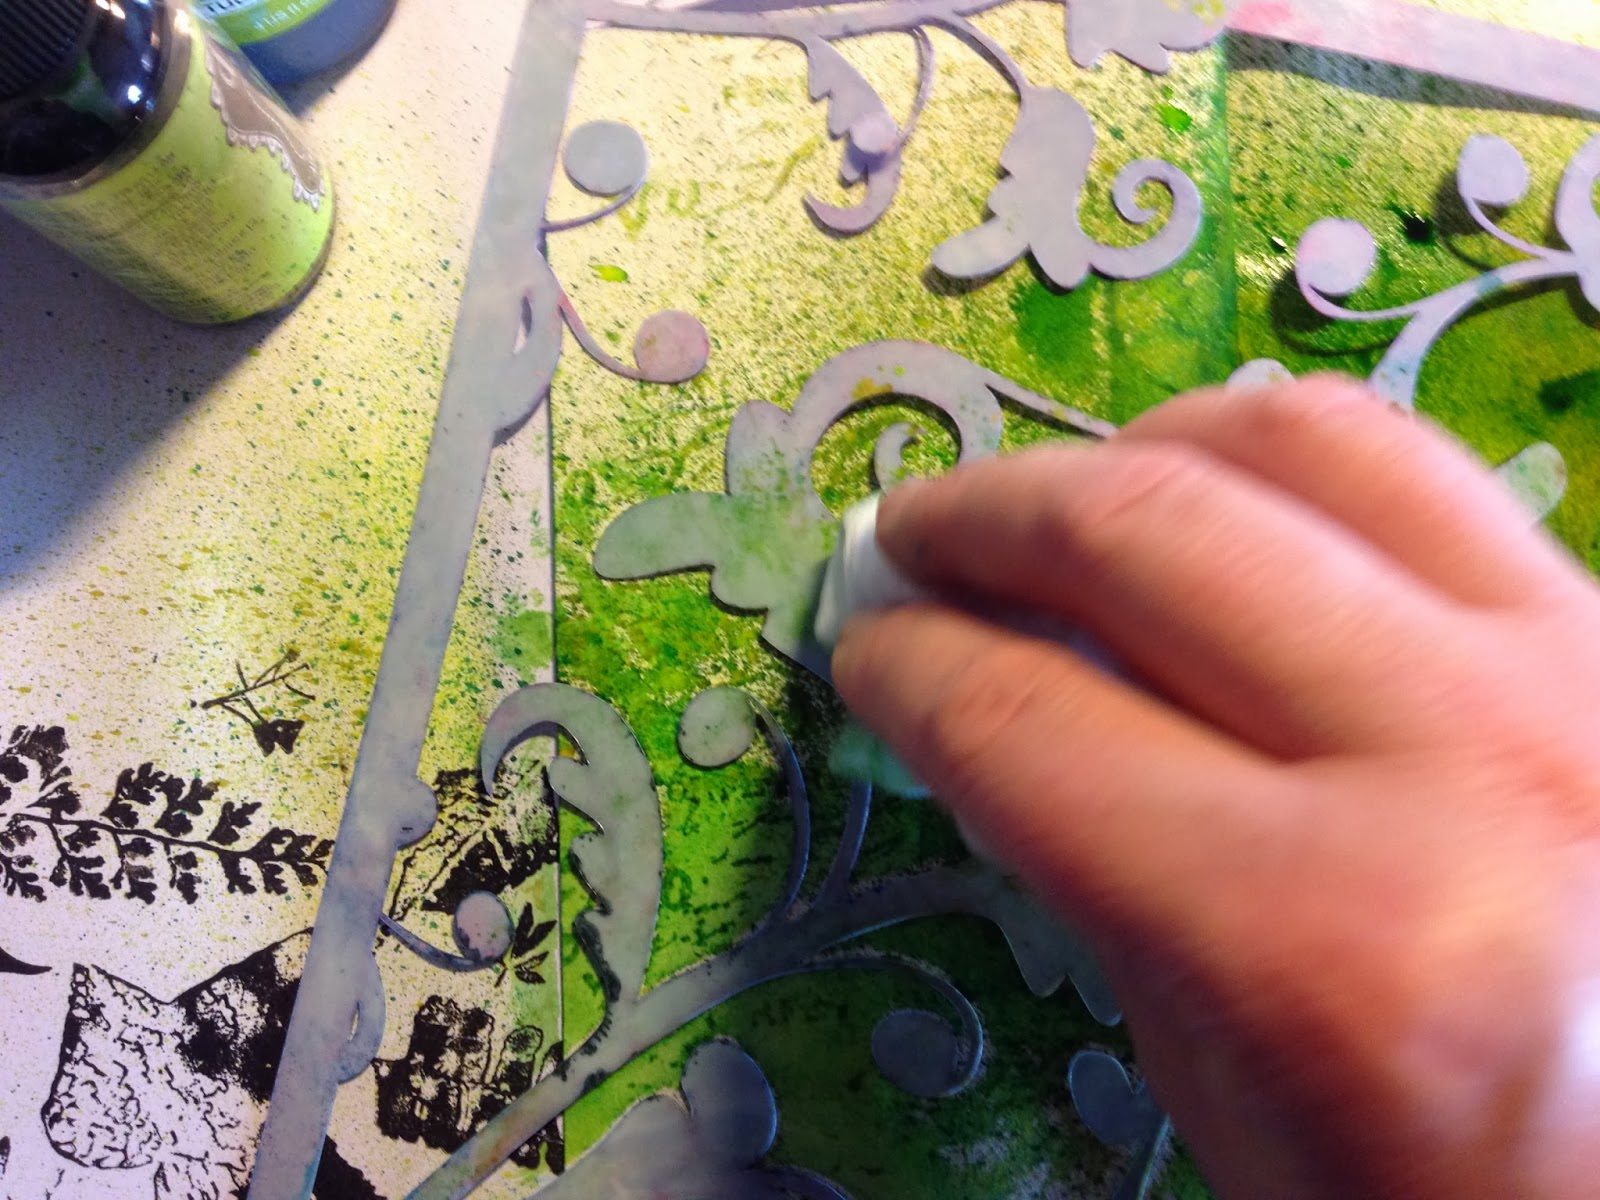
I sprayed a selection of green inks...


...then pressed a stencil down onto the wet ink.  This gave some subtle texture to the page and I thought it might be nice to stamp some text over the stencil in some areas.


I could only find one green dye ink pad, so made a mental note to add a dark green to my shopping basket next time I'm buying craft supplies.  I stamped the text on scrap paper to see the ink was the right shade and decided to go with it.


I like using unmounted rubber stamps to apply patches of pattern to a page - you can curve them slightly to add randomly shaped areas of texture.


After lifting off the stencil there was quite a bit of ink left on it so I turned it over and used a baby wipe to wipe the ink back onto the page, dabbing small areas too.


Et voila!  I liked that, but now what?


Time to pause, dunk my biscuit in my tea and think about how I'd add the leaves to my page.


I'd wiped some ink from my stencil onto the scrap paper I'd stamped on earlier so decided to cut out the ivy leaf....


... and I was able to make some more green paper up quickly by wiping over the oversprayed ink with a wet baby wipe.


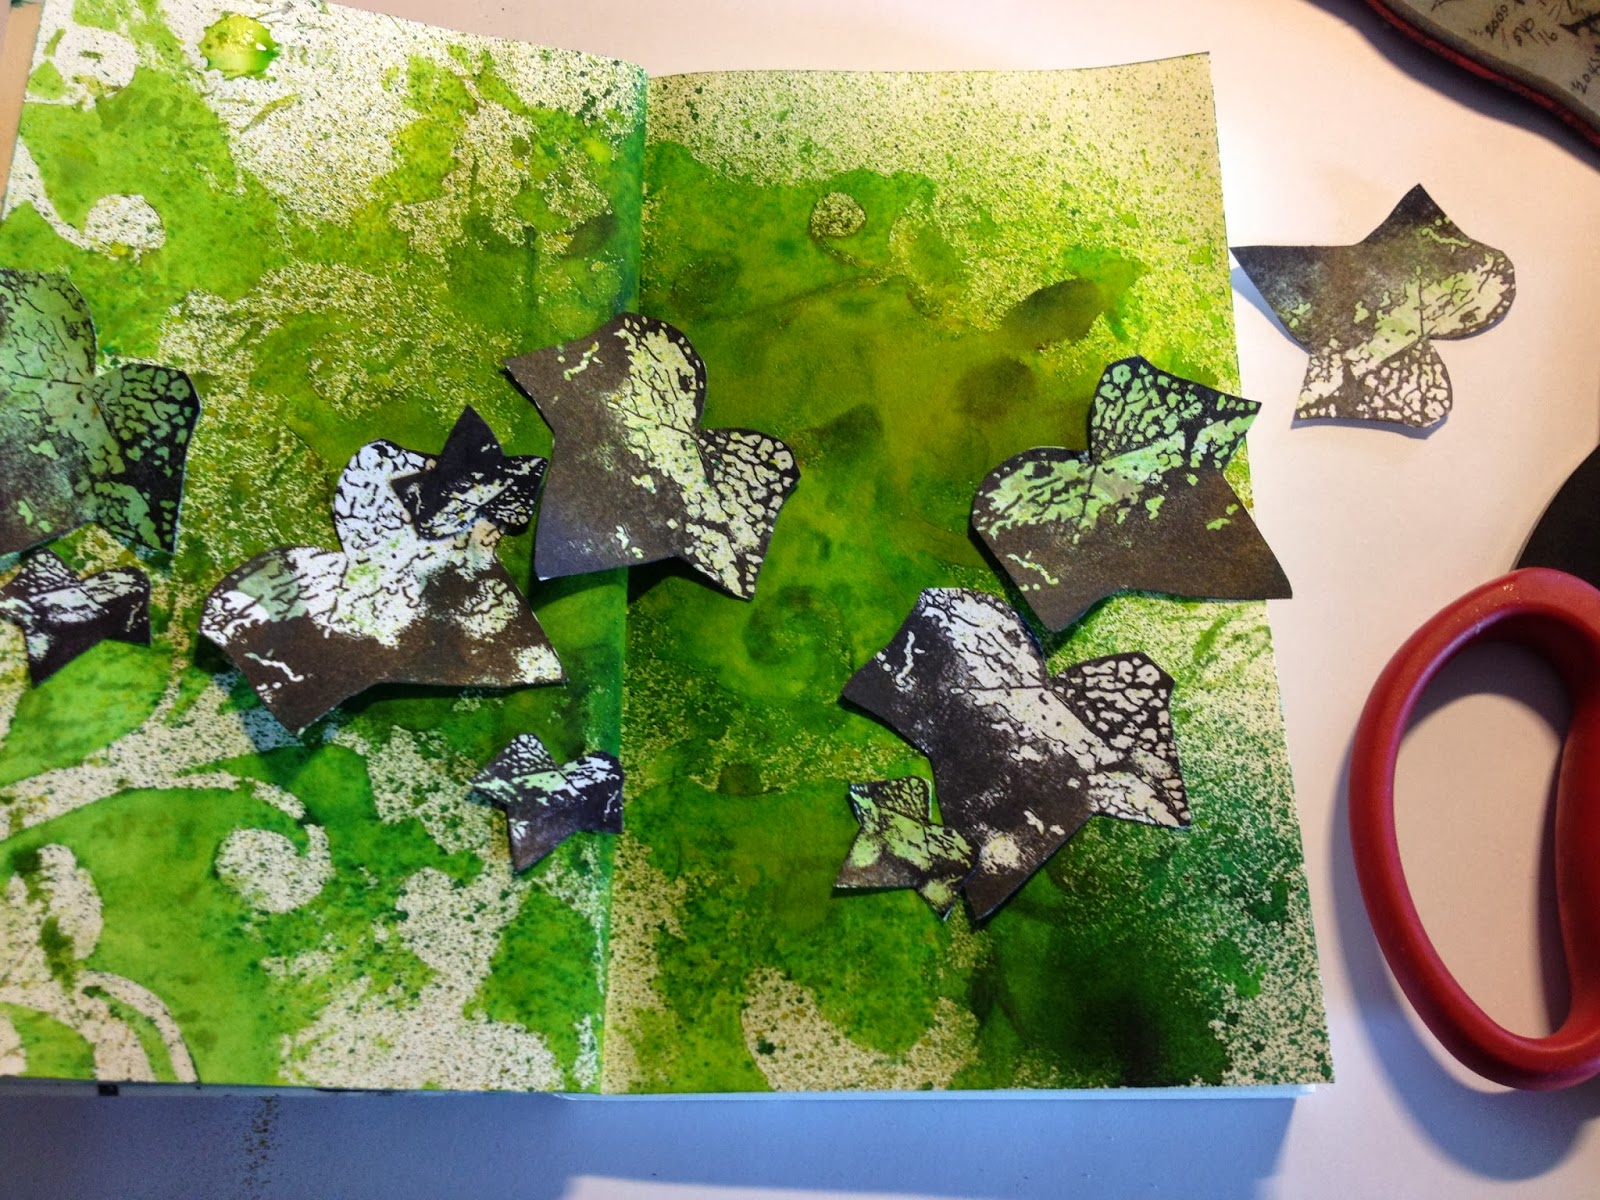
The leaves looked good but needed something more so ...


... I stamped some directly onto the page.  Then came a bit of an 'eeek' moment, when I didn't like how the leaves were sitting together.


A few deep breathes later and I decided they looked ok and they just needed some depth.


A quick look amongst my newly tidied pens etc and I easily put my hands on a charcoal pencil and added some shading under the leaves.


What I couldn't lay my hands on was my blending tool, but a cotton bud did the trick just as well, smudging the charcoal to create shadows.


I fancied adding some curly tendrils but didn't want to spoil the page so decided to blot away some ink through a stencil to see if I liked the design.  I was tempted to draw through the stencil with a green pen.


I did like it, but changed my mind about the pen.  I rarely clean my stencils which means I often add unintentional colours to my pages... and today was no different.  I loved the browny orange hints and continued deliberately adding them around the page.

Happy journaling everyone!!

Saturday, 25 August 2012

step by step art journal page


Maybe it was a little ambitious to take step by step photos of the creation of a page whilst attempting something new!  All the way through, until I forgot to take any photos, I was telling myself to just play, just enjoy the mark making, but ended up really not liking what I'd done. I really, really, really love these pages now and can't believe they looked like this at one point!


So here you go, step by step :)

in my large-ish typewriter book, layer of Buff Titanium because I couldn't find the gesso!

patches of Phalo Blue in the bottom third of the pages

black drawing ink applied with a stick!

quite liking it so far, don't know where it's going though

a stripe of blue ink in the top third, then some Sticky Fingers Bluebell ink sprayed above it

darker blue ink splodge on, not liking this, and what on earth
am I going to put in the middle?

a stripe of a yellow ochre type of colour...like how it goes over
the blue spots and you can still see them

I wanted some red highlights on this page, inspired by
David Ashby's pottery, check them out they're stunning, like art journaling on clay


Nope, really don't like it, it feels to dark so I'll brayer some white acrylic
paint over it and see what happens

Oooo,

 I liked it so much I forgot to take anymore pics until I finished the pages

Brayering pulled off some of the paint so I used some scraps of paper from the table
as collage fodder
(I'd done some free mark making before starting this page aka Jane Davies then
used the same paper to dry off my brushes/brayer/stencils)

I've always loved the scraps of paper under my work, it's where I don't think so 
often get surprising results and textures.  It's also why I don't use a teflon mat!!!

A bit more drawing ink and hey, I'm happy!!!


:) hee hee hee


LinkWithin

Related Posts with Thumbnails