Probably about eight years or so ago I included some small journaling in one of my art journals ...
... and over the past few months I've wanted to get back to it, but hadn't found the right way, until now!
This teeny, weeny, traveller's notebook is made by Monica, on Instagram as @moon.4.life, and available in Cafe Analog's Webshop.
It comes beautifully packaged in a tiny little box.
Being tiny, it makes it extremely portable (but you have to keep your eye on it so it doesn't get lost!). I love being able to take a pencil case of papers, glue stick, scissors and pencil and journal wherever I am.
Gelli printed deli paper makes for a great background,
.. and it's a great place to use up the tiniest of snippets of paper!
The trouble is, Monica's produced some new colours ... I can feel a collection coming on, oh dear!!
What an absolute honour it is to have been asked to be one of Jo Firth-Young's Wingmen for her new stamp launch, alongside the fabulously talented Keren Baker. This is a long post as I'm sharing four projects, one for each stamp set!
It has been so hard keeping it a secret from my stamping buddies but the day is finally here so I can share the projects I've made with these wonderful stamps. Jo Firth-Young and Keren Baker are also sharing their amazing samples over on their blogs, so don't forget to hop over there for more inspiration.
JOFY 49
I just love this poppyseed-like flower, and those tiny ones are itching to be stamped on stickers and in my planner. I also really like Jo's handwriting and love the effect you get when repeat stamping it until all the ink has gone from the stamp. It makes for a great textured background.
To make this tag I used Paper Artsy Fresco Paint in Turquoise, Zucchini and Hyde Park and placed small blobs of each colour on a mat. I added water to each 'blob' with a paintbrush so that I could 'smoosh' the tag through the paint. I use this technique a lot with ink and wondered if it would also work with paint..
.. it did! And makes for a fabulous watery background.
After repeatedly stamping the word 'wildflowers' with Archival Cornflower Blue I used the same ink through stencil 038 JOFY. I then set this aside whilst I made the flowers.
I coloured some paper using Paper Artsy Fresco Paint in Bougainvillea and Cherry Red, smooshing it around with a baby wipe, before stamping the word 'wildflower' with Archival Magenta Hue. I also created some green paper using Paper Artsy Fresco Paint in Zuccini and Hyde Park in the same way.
I inked up the whole of the written phrase with a black Versafine and stamped it until the ink ran out to create a black and white paper.
I then stamped and fussy cut the flowers as shown.
After layering the flowers on the tag I added some shading using a simple pencil.
And finished off the tag with a snippet of pink paper and the word 'wildflowers'.
JOFY 50
Jo's stamps often make me want to add stitching to my projects and this set is no exception.
step 1: Paint a strip of card with Paper Artsy Fresco Paint in Zuccini.
step 2: Take a slightly thinner strip of card and stamp flowers using the black Versafine ink pad.
step 3: Paint between the flowers with Paper Artsy Fresco Paint in Turquoise and paint the flowers with Bougainvillea, using plenty of water to give a watercolour effect.
step 4: Using a deep red embroidery thread, add french knots to the flowers. Use a green thread to add tiny stitches as shown. Use the end of a paintbrush dipped in Paper Artsy Fresco paint in Zuccini to add tiny dots of green.
step 5: Layer these two pieces as shown and add stitching with a sewing machine.
step 6: Stamp three butterflies using a black Versafine inkpad, cut out and add to card. I worked out where they would go then stamped them on the card so I didn't need to cut out the antennae!
JOFY 51
For this next stamp set I got out my gelli plate. That sunflower is a fabulous size for journal pages and although I've made a card for this sample, I'd love to repeat this in my journal.
I started by adding a couple of blobs each of Paper Artsy Fresco in Coral and Vanilla to the gelli plate and combining them with the brayer.
I then stamped the uninked sunflower on the plate, lifting off the paint. Once the paint was dry on the gelli plate I brayered vanilla ink over the top before taking a print....
.... then overstamping it with the sunflower in Paper Artsy Fresco in Coral. This formed the background for the card.
I coloured some paper using baby wipes and Paper Artsy Fresco Paint in Coral, Bougainvillea and Turquoise and stamped the sunflower on it with black Versafine ink.
I stamped the sunflower again, this time on paper coloured with Paper Artsy Fresco Paint in Vanilla. I only used the middle of the flower so didn't need to colour to the edges.
After cutting out the sunflower I added the Vanilla coloured middle and enjoyed painting the small circles. One of my favourite techniques (that I learnt whilst working at a paint-a-pot place!) is to add tiny dots by dipping the wrong end of a paintbrush into paint - they come out perfectly!
Finally the leaves just needed stamping onto the background with black Versafine ink (this means that the fine lines are still present when you add the green leaves) ...
the background mounting onto white card, leaves stamped onto green painted paper and added, and the flower and words added as shown.
And finally (and thanks so much for hanging in there with me for this long post, hopefully it's been worth it!) these stunning flowers..
JOFY 52
This set contains one of my favourite images - that tiny scribble at the top of the set!
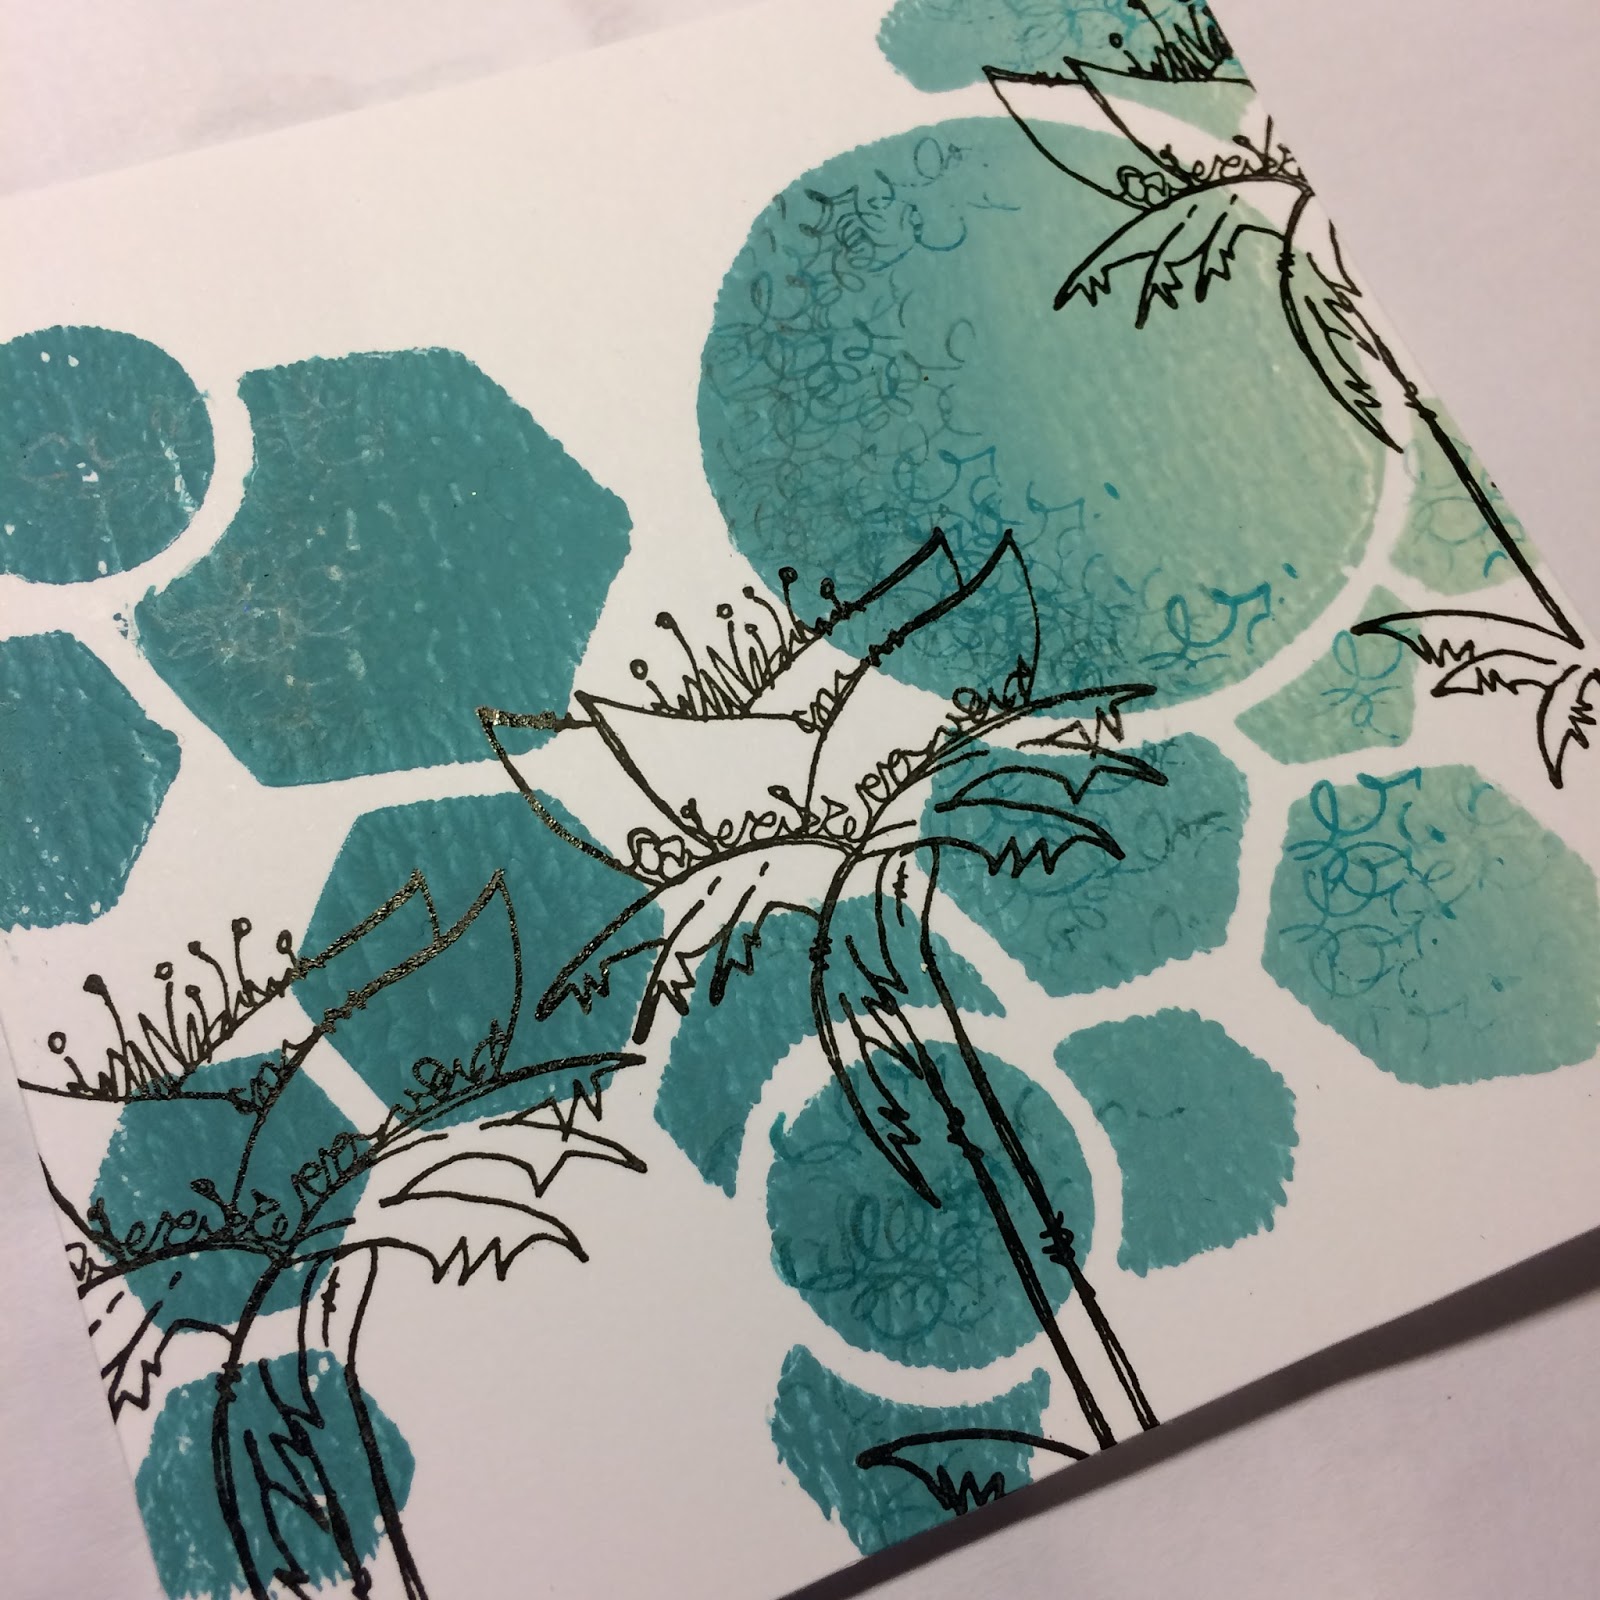
It makes for the most amazing backgrounds, and I used this effect for the flower on this card and throught the stencil.
I used my gelli plate again for this card, putting Paper Artsy Fresco paint in Turquoise on one side, Snowflake on the other, and blending them with my brayer.
Laying stencil 042 {by JOFY} on the gelli plate first I then laid a piece of card over the top and picked up the print through the stencil.
Now for that favourite stamp of mine, stamped repeatedly over a small area, then the flower stamped over the top, cut out and shaded with a soft pencil.
I used it again on the gelli plate, laying down a couple of greens (Zucchini and Hyde Park) in Paper Artsy Fresco paint, then lifting off the paint with a clean stamp. I then stamped the flower in black Versafine ink.
I laid the stencil back over the now dry gelli print and stamped through the stencil with the scribble stamp using Archival ink in Cornflower Blue as shown, before stamping the flowers in black Versafine ink.
I added the fussy cut green leaves and the flower head using a pritt stick..
... before finishing off the card with the words and some splashes of paint over the top of the flower.
I really hope you've enjoyed seeing how these projects came together as much as I enjoyed making them! Don't forget, there are more step by steps to more projects by the fabulously talented Jo Firth-Young and Keren Baker, and all the information is also on the Paper Artsy blog. I'll leave you with the video showing all the samples together:
I've been playing with some of my Christmas present goodies so thought I'd share a step by step to this journal page.
I've ummed and ahhed over these Prima watercolours for a while as I have watercolours already but decided to put them on my wishlist and my kind bro-in-law bought them for me for Christmas. [If you've not already discovered it, it's worth knowing that That's Crafty has a wishlist facility. I just add things I'd like and relatives hop on and choose things for me for Christmas and birthdays!!]
I added the watercolours to my new star stamp by Carabelle Studio and stamped on the page, then added some puddles of colour.
My next step was some collaged papers as I wasn't sure where this page was going.
Stencilling with white is one of my 'go to's when things are looking a bit busy on a page.
I added some stamping using some of my favourite numeral stamps and some textured Paper Artsy images.
My family know me well and my daughter wrapped up some White Company tissue paper (it's very architectural) as a Christmas pressie! I added a bit to the page..
... before adding patches of letraset lettering.
I finished off the page by stamping out some images on white paper and cutting them out. The leaves and bottles are by Paper Artsy, the Apothecary label is by Makistamps, and there are a couple of Chamil Garden stamps in there too.
I am a much more frequent Instagrammer [@sarahthemoodler] than I am Blogger. This time I had a bit of a play with the filters on IG and rather liked how this piece looks in black and white.