Showing posts with label The Stamp Man. Show all posts

Sunday, 25 May 2014

the Stampendous Creative Palette


It turns out that it's just over a year ago that I got my gelli plate after a wonderful play date with my talented friend Sue Roddis.  I can't say I played with it much after that until the also very talented Tracey Dutton introduced me to using adirondack ink pads with it.  Since then I've loved using it, it just makes me happy ...


... but only with my ink pads, I have studiously avoided paint!!  Until this week ........ after Jill, from The Stampman, asked if I would demo for her at The Great British Craft Festival - North.  In the fabulous package of goodies she sent me was a Creative Palette by Stampendous so I settled down for a few days playing.


Out of curiosity, the first thing I did was compare the gelli plate and the creative palette.  They are both monoprinting plates but where the gelli plate mimics a thick gelatin plate the creative palette is much thinner and firmer.  I was happy to discover that I could use my ink pads on the creative palette (I just love Jane Gill's stamps for Woodware, and that clear scraps stencil is just gorgeous!!)

.

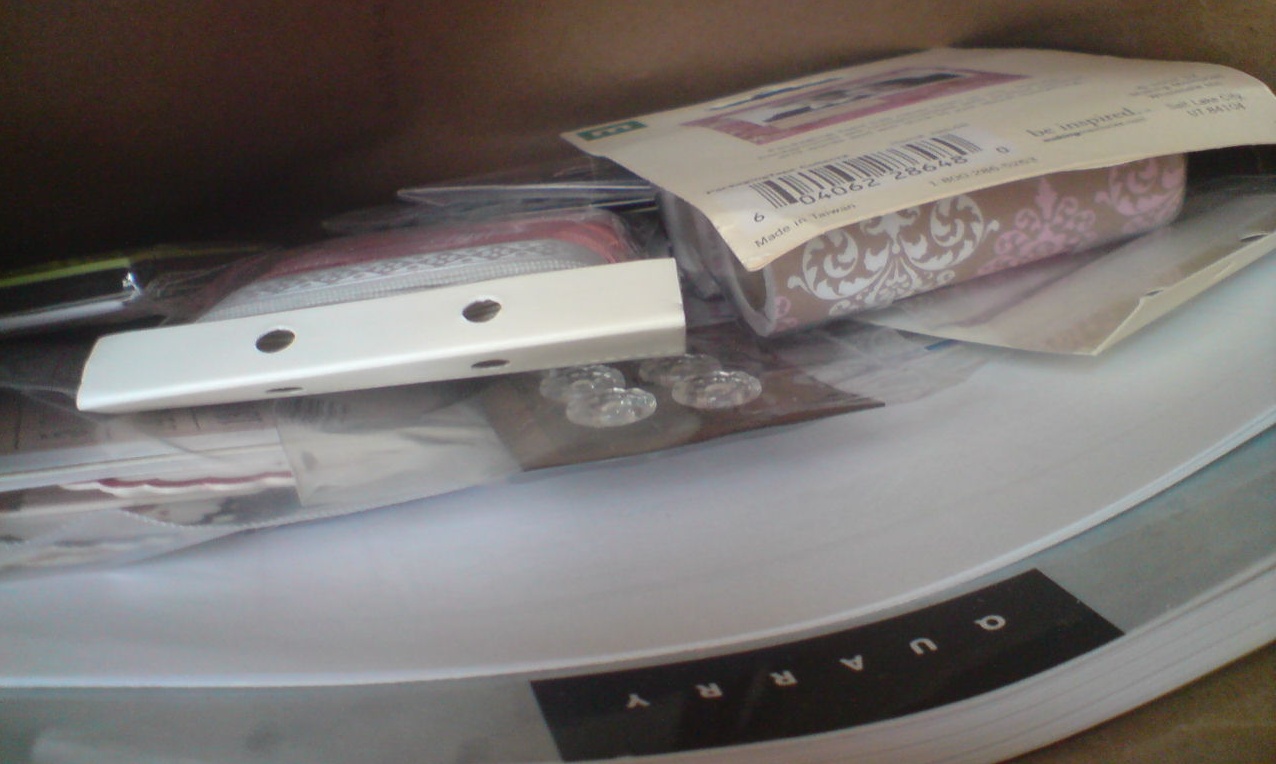
... but my attempts with paint were hopeless (see my sketchbook above! And just to point out that this was down to me and not the creative palette or the gelli plate!!!).  However, I was determined not to be beaten so I watched the Stampendous youtube video tutorials and googled creative palette and gelli plate, but although I was getting there, I was still adding ink to make the pieces work, and I didn't feel that monoprinting with paint was really giving me anything different to what I could achieve more easily just using paints and a stencil!!


Back to the internet and this time I decided to really, really look hard at the projects I liked and see what it was that drew me to them.  I filled my sketchbook with images and added notes alongside and slowly but surely I began to like what I was producing.


When I teach workshops I always say to people, "use your favourite colours, the colours you are most comfortable with, as this is a new technique and it just makes it easier to learn one new thing at a time".   I discovered that I needed to tell myself that with paints and my monoprinting plate.


I also discovered, amongst other things, that I work best with just one colour on the plate (although I love it when others sneak in from not cleaning my stencil!!) and that, just like with my journaling techniques, the mop up page is usually the nicest!!


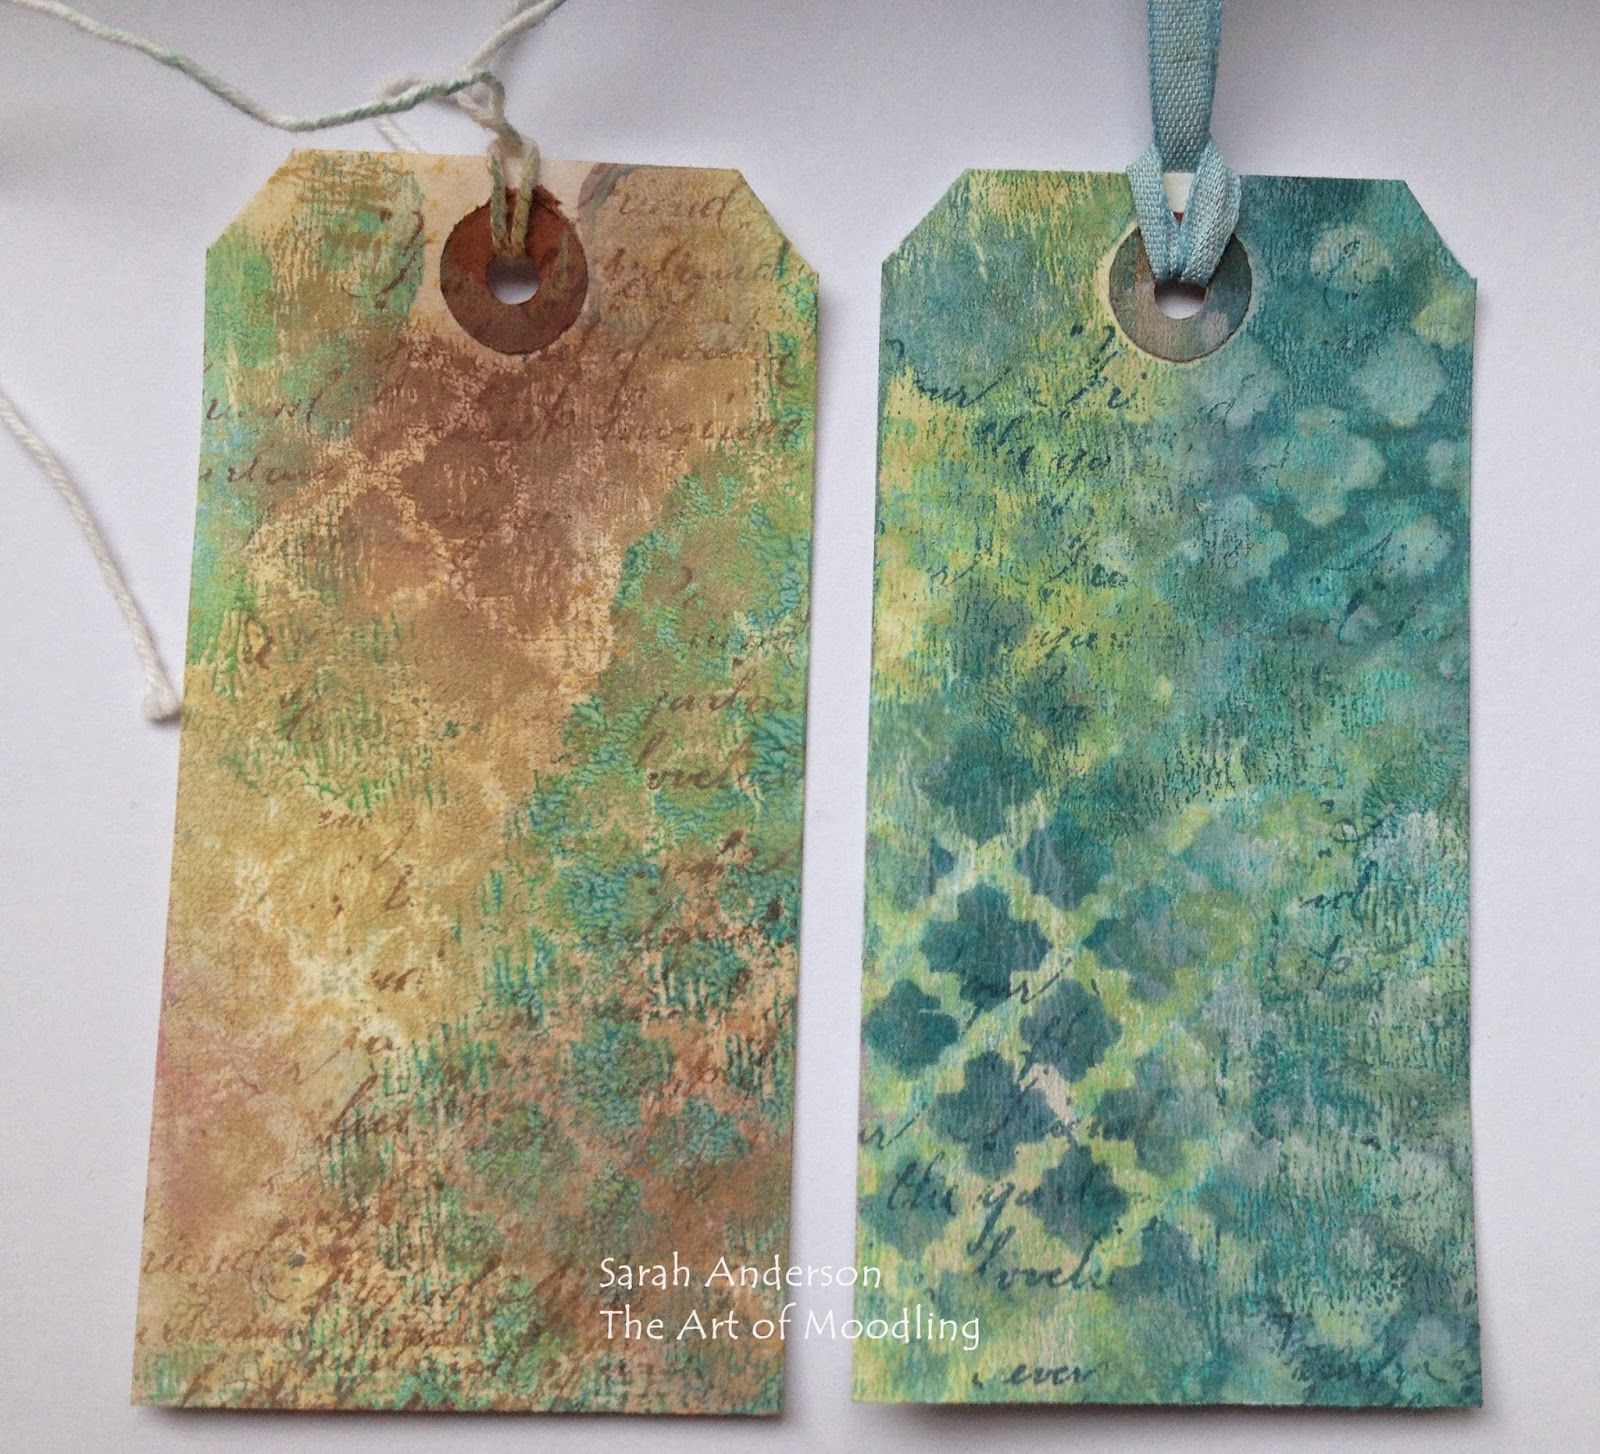
I learnt a lot on my mission to love using paint with a monoprinting plate ...  and I feel that I achieved my aim!  My favourite thing about it is the texture it produces on the paper - monoprinting using paint definitely feels different to regular painted backgrounds!  


I now have a heap of paper and tags, some of which I've begun to work into with ink and stamping ...


... and I'm on my way to turning some of them into cards.


I also have a list of more things I'd like to try with my monoprinting plate.  I love Jane Davies' work and after being inspired by her pebble-shaped, hand-cut stencils, I tried it with one of my favourite shapes - hydrangea petals


I have since discovered that Stampendous now do a die cut set to match their hydrangea stamps so I'm eagerly awaiting it in the post in order to further play with this idea on a smaller scale!

The Great British Craft Festival North is next Saturday and Sunday 31st May and 1st June 2014.  It starts at 10am on both days and is at the Bolton Arena (good job I checked, would have headed for the Reebok lol)!!  Tickets are available on the door.

Tuesday, 8 April 2014

faux batik

Faux batik using clear embossing is a technique I'd seen demonstrated, and knew how to do  in theory but hadn't had a good go at so it was a real treat to spend the day with the "Vicky Stampers" where Cath was teaching on Saturday.  [Sorry Chris, we will make it together one day I'm sure!]


I happily played with this technique on card, tags, and in my journal.  


It was a real treat to spend the day exploring a new technique, using another person's stamps alongside my own, and meeting new people.


I now have a longer wishlist of stamps I'd like!!  I also got to play with some of my new purchases from Port Sunny; the butterfly above is from Indigo Blu and the cow parsley is a woodware stamp from The Stamp Man.  Huge thanks to Cath for letting me be her guest, and all the "Vicky Stampers" for making me feel so welcome [and a special 'hello' to Ann :) ]

Friday, 5 November 2010

Challenge #9 at The StampMan: It's CHRiSTMaS!!!!! and anything goes...

It's Bonfire Night in the UK, so lots of treacle toffee, sparklers, fireworks, baked potatoes and parkin.  I'm at work all day and into the evening tonight so no partying for me until tomorrow.  Instead we're having some sparkle via this fortnight's Stamp Man challenge.


It feels a bit like coming home, being asked to be on The Stamp Man design team as I've know Jill and Ian for so long.  Look at the photo Jill chose to introduce me to the world lol


Not that I mind, it's my normal look when I'm crafting ;)  although for this challenge I indulged in my love of Hero Arts and show my clean and simple side!  I saw Karen Jackson demonstrating these baubles at Happy Stampers Northwest at Port Sunny and just fell in love with the 3d idea.


-To make the baubles this way, just stamp the image three times in a colour of your choice, cut them out then fold them in half.  Choose the best one for the centre the glue a folded ornament on the left and one on the right.  
-Stamp up the card (that Merry Christmas is a denami stamp from The Stamp Man many years ago!), using the Fabulous Flourish.  This is truly, truly FaBuLouS and a sell out at the Port Sunny show.  It calls your name when you see it, and is so, so versatile! [looks fab on dark blue, stamped in white, with snowflakes, but can I find where I put that card?  No....arrrgggh!!]
- Attach the long thread to the card by taping it to the back then bringing it over to the front and taping it down.  
- Tie a bow around the top of each ornament then glue them down on the card.


There's lots more inspiration from The Stamp Man design team over on their challenge blog, along with details  of the winners from challenge #8: cards for men and space to link your work so we can go and take a gander at it :)  Have fun :) :) :) 

Saturday, 16 October 2010

glowing like the moon at The StampMan


Or maybe that post title should be 'shining like a star' as my hands were certainly very shiny after playing with Starburst Stains at The StampMan today lol!  I've had a set of these for a while now so when I got the opportunity to spend the day with one of the Queens of stardust (well, at least two really!)  I jumped at the chance.

 The transformation of the powder (left) to ink (right) can be quite dramatic.

[Of course the most dramatic colour is the one I did before taking photos!!!]  These inks come in powder form then you top them up with hot tap water, stir and leave to stand.


Then you watch the lovely Vix paint one colour of ink onto a sheet of paper [action shot there of Vix shaking the jar of blue as the mica settles at the bottom after a while]...


... add drops of a couple of other colours, before folding the paper in half and scrunching it into a ball...


...which transforms it into this FaBuLouS piece of paper :)  SHiNY :)


You can make a paler piece by putting clean water onto the paper first instead of a colour stain.  I had a wonderful play with this technique and ended up with very blue hands, which Jill took photos of so I'm keeping an eye on her blog lol.


I then had a play in my journal, spraying one of the stains then stamping with paint dabbers before adding punched snowflakes and one of the images from the Butterfly Beauties plate.


Turning this butterfly beauty into a winter one was inspired by a card Vix had made [ok, ok, I nicked the idea off her, but with permission :)]  When I find my small snowflake punch I'm going to add more snowflakes to her hair!!  

The StampMan shop is always crammed with beautiful samples, so I took these photos with Julie in mind, as she'd have loved to have come and played!  Apologies to the other lovely ladies who were demoing, I didn't take any pics as I was distracted by my new inks, but you can find Michelle here and Jill B here.


Monday, 19 July 2010

USAQ DT project #3 playing with Mica Tiles

 The Design Team at USArtQuest post fortnightly with a new kit that Mrs USArtQuest sends us (aka Susan Pickering-Rothamel).  I'm not sure where the last two weeks went, but it's time to post a new project, and this time we had Mica tiles to play with.

I have wanted to play with these forever, but never seemed to get round to it so I was very excited when I received them through the post :)   I peeled them apart, had a bit of a play with my cuttlebug, embossing and cutting the tiles; I added gold leafing and Stazon ink, but it wasn't really 'happening' for me.  All I could think was "I could do this with acetate or a piece of card, what's so special about mica tiles?"


Sometimes it helps to talk to a friend when you get stuck, and Wendy kindly reminded me that they are heat resistant, so it's great to trap embossing powder between the tiles.


Well!  I happen to LoVe the translucency of old paper when layered using clear embossing powder.


Can you see how you can see the text from both sides of this page from an old hymn book?

And you can 'distress' the tile with the edge of your fingernail, or by ripping bits off round the edge (but be sure to keep these tiny bits, they add sparkle to any project!)


I've had to drag myself away from the craft table to come and post this, I'll certainly be back playing with my mica tiles, and finishing some projects.  

If you're in the UK, your local stamping shop can get mica tiles for you as Woodware is a UK stockist for USArtQuest.  Glenda at Graphicus has them in stock here.


Now for the 'how to':

Trim your mica tile to size and shape.

Using your fingernail, split the mica apart (it's made up of compressed layers of rock!).  Use two pieces for this project.

Lay your tile over a piece of text and tear to fit.
Attach the paper to the tile with PPA Gloss, or clear embossing powder.

Add more torn paper, and gold leafing flakes to your collage.
Note how opaque the pieces are here as I've used PPA Gloss to attach the papers.

Cover the whole piece with clear embossing powder and lay a matching (shape, not collaged)
piece of mica tile on top.  Just look at that shine!  And can you see how the text paper
is now translucent?

I'm going to mount up this little house and give it away to someone.  I think I'll steal Suzi Blu's idea and include a piece of  Mica tile for you to play with too!  Leave an 'arty pondering'  by midnight GMT Sunday 25th July to be in with a chance. I'll use a random generator to pick a name on Monday 26th July.

Don't forget to head on over to the rest of the DT members' blogs, and the USAQ blog to see what other yumminess has been produced with these mica tiles :)  Suzi's got a giveaway too!


EDIT:  I've just discovered that The StampMan's new challenge blog has the theme 'Anything Goes' this fortnight, as Vix wants to see what we can all do!  So I'm heading over to enter this, and I KNoW Jill can get these mica tiles for you if you want any :)

Sunday, 3 January 2010

weird crochet...and last day of the Stamp Man Blog Hop


Crochet keeps me sane!  Whilst the rest of the family were plugged into machinery (computer games, nintendo dsi, psp) I sat crocheting in front of the real fire and felt a bit like an old granny!!  Except I'm not sure this is what granny's crochet!!  :)

 
It's a bit of a late entry, but I'm hoping that, with postal delays, and closure between Christmas and New Year, that it'll still be accepted for Manchester Craft Village's Yarnbombing exhibit!  They're wrapping the balcony rail with crocheted or knitted pieces.  I meant to enter this earlier but completely forgot then over  Christmas remembered and gave it a go.  Even if it gets sent back, I had great fun making it :)


Especially as John Lewis had wool in their Sale so I treated myself to a couple of balls of thick, chunky wool.  And a lovely crochet book fell into my basket whilst I was buying a book for my Dad on Amazon, which gave me the instructions for the leaves etc  :)


If you've got a lazy Sunday ahead of you, don't forget that the Stamp Man blog hop, candy and award event finishes tonight, midnight GMT.  I've loved being a blog on this hop.  I've met new people, and found one lives close by - yay!!!  My contribution is HERE, but you need to start at THE STAMP MAN.  Happy Hopping!!

Saturday, 21 November 2009

to be sung tunefully!...

"Didn't we have a lovely time, the day we went to Skipton!!!"


Kate Crane and I discovered that Skipton was halfway between where we both live, and since it just happens to have a great stamp shop as well, we met there!  If you've not seen Kate's work yet, head over to her blog as you're missing a real treat. 


It's even more amazing in real life.  The colours are stunning, but it always gets me that it's so hard to judge size on the internet.  Her leather journal is A6 in size, much tinier than I'd imagined.  A treasure to hold :)  Jill and Ian are very warm and welcoming and we had a fab time chatting, sharing art and ideas, and shopping...of course!!!

Then yesterday I received a parcel in the post from my great friend Julie.


After savouring the moment, I opened it to discover all these wonderful goodies.  How fab are these?!!!


Julie had told me she'd found a book that was just 'so me' she had to order it straight away.  And I'm so glad she did, look!!!


Fairies, fibre art and all bound in a book, how fab is this!!  It's very me!  So a VERY BIG THANKYOU Julie! I love it!  Watch out for some fairy artwork here tomorrow, I've been in 'fairyland' today, busy creating :)

LinkWithin

Related Posts with Thumbnails