Showing posts with label distress ink. Show all posts

Thursday, 24 December 2015

Merry Christmas!

Wishing you all a very Merry Christmas, thanks so much for coming by and reading my blog over this past year :)


I make very few Christmas cards, and always on the last minute.  I had been planning them in my head for a while though - unfortunately, that design worked in my head but not in practice!  So off I went on t'internet for some inspiration and came across Nichol Magouirk's beautiful cards here


So I rummaged in my Christmas stamp box for an inspiring stamp image and got out my distress ink pads and embossing powders....


... and whipped up some quick Christmas cards.

Wishing you all the very best for Christmas and the New Year
Sarah xx


Tuesday, 25 August 2015

FairyTale tag


I am loving the new release stamps from Lavinia Stamps so much I had another quick play this morning.


I had some inky paper left over from the other day so I trimmed it into a tag shape...


...and added some distress ink and brusho.


I used the new 'Embrace your Dreams' to add some text in the background...


...then added some grass by masking with torn paper along with the new 'Fairy Dandelions'.


After stamping 'FairyTale' I splattered some drops of water over the tag and then mopped them off, just to give it some more texture.


Some Stickles for glitter on her wings and the dandelion seeds, some grass created using the top of the 'Fairy Thistles' and the word 'dream' from the 'Embrace your Dreams' stamp and my tag was finished.  I really wasn't sure about it after adding the Brusho in the background, but more layers later and I love it!  And I love, love, love these dandelions!!!!  I used them in this month's online article too


http://laviniastamps.com/embrace-your-dreams-by-sarah-anderson/


Sunday, 8 June 2014

another Paper Artsy challenge piece

I knew I wouldn't be able to resist playing with these stamps for long but that was hardly any time at all!!  So here I am, back with a second entry for Paper Artsy's weekly challenge


I often decorate envelopes but this time I was inspired by Darcy to create an envelope from the papers I made earlier (see the previous post).  I opened up an envelope, glued it to the bag of my paper then refolded it.

  
I knew the stamped image would be difficult as I was stamping it overlapping card but it coped better than I thought!  I added a black and white image of the lady over the top.


Unlike Darcy I kept the flap at the top of the envelope (although I will give hers a go at some point), and added some of my left over bits of stamping from the previous project.  The tag in this Lynne Perella set was a perfect size to fit inside my envelope .... and hey presto, two projects in one day #feeling happier :)

Friday, 6 June 2014

horse on a tag


I ordered some new stamps direct from Stampotique and they arrived a few days ago ..


... definitely a happy parcel!  These are stamps I haven't been able to get hold of in the UK, otherwise I would support a 'local' stamp store.  The ones I know of here that stock Stampotique are a sprinkle of imagination, art from the heart, the cubby hole and the stamp attic.


I had a play with my distress inks the yesterday; I'd forgotten how vivid the colours were!  So when I wanted a strong green background for my lovely pink yummy horse I got them out.  This was made easier by the fact that just after my op, when I couldn't move much, I labelled them all and organised them into colours :)


I also made the background that I stamped 'horse' on using distress, this time the minis.  I followed Tim's June 2014 tag technique of inking up the back of a stencil (I used Tim Holtz' doily layering stencil), spraying it with water then stamping with it.  Once it was dry I stamped 'horse' over the top and cut him out.


I love finding random sentences in old books and I decided this one fitted 'horse' perfectly!  I made another tag using horse, which you can see over on the Stampotique Designers Blog.

Stampotique stamps used:

Tuesday, 8 April 2014

faux batik

Faux batik using clear embossing is a technique I'd seen demonstrated, and knew how to do  in theory but hadn't had a good go at so it was a real treat to spend the day with the "Vicky Stampers" where Cath was teaching on Saturday.  [Sorry Chris, we will make it together one day I'm sure!]


I happily played with this technique on card, tags, and in my journal.  


It was a real treat to spend the day exploring a new technique, using another person's stamps alongside my own, and meeting new people.


I now have a longer wishlist of stamps I'd like!!  I also got to play with some of my new purchases from Port Sunny; the butterfly above is from Indigo Blu and the cow parsley is a woodware stamp from The Stamp Man.  Huge thanks to Cath for letting me be her guest, and all the "Vicky Stampers" for making me feel so welcome [and a special 'hello' to Ann :) ]

Wednesday, 22 January 2014

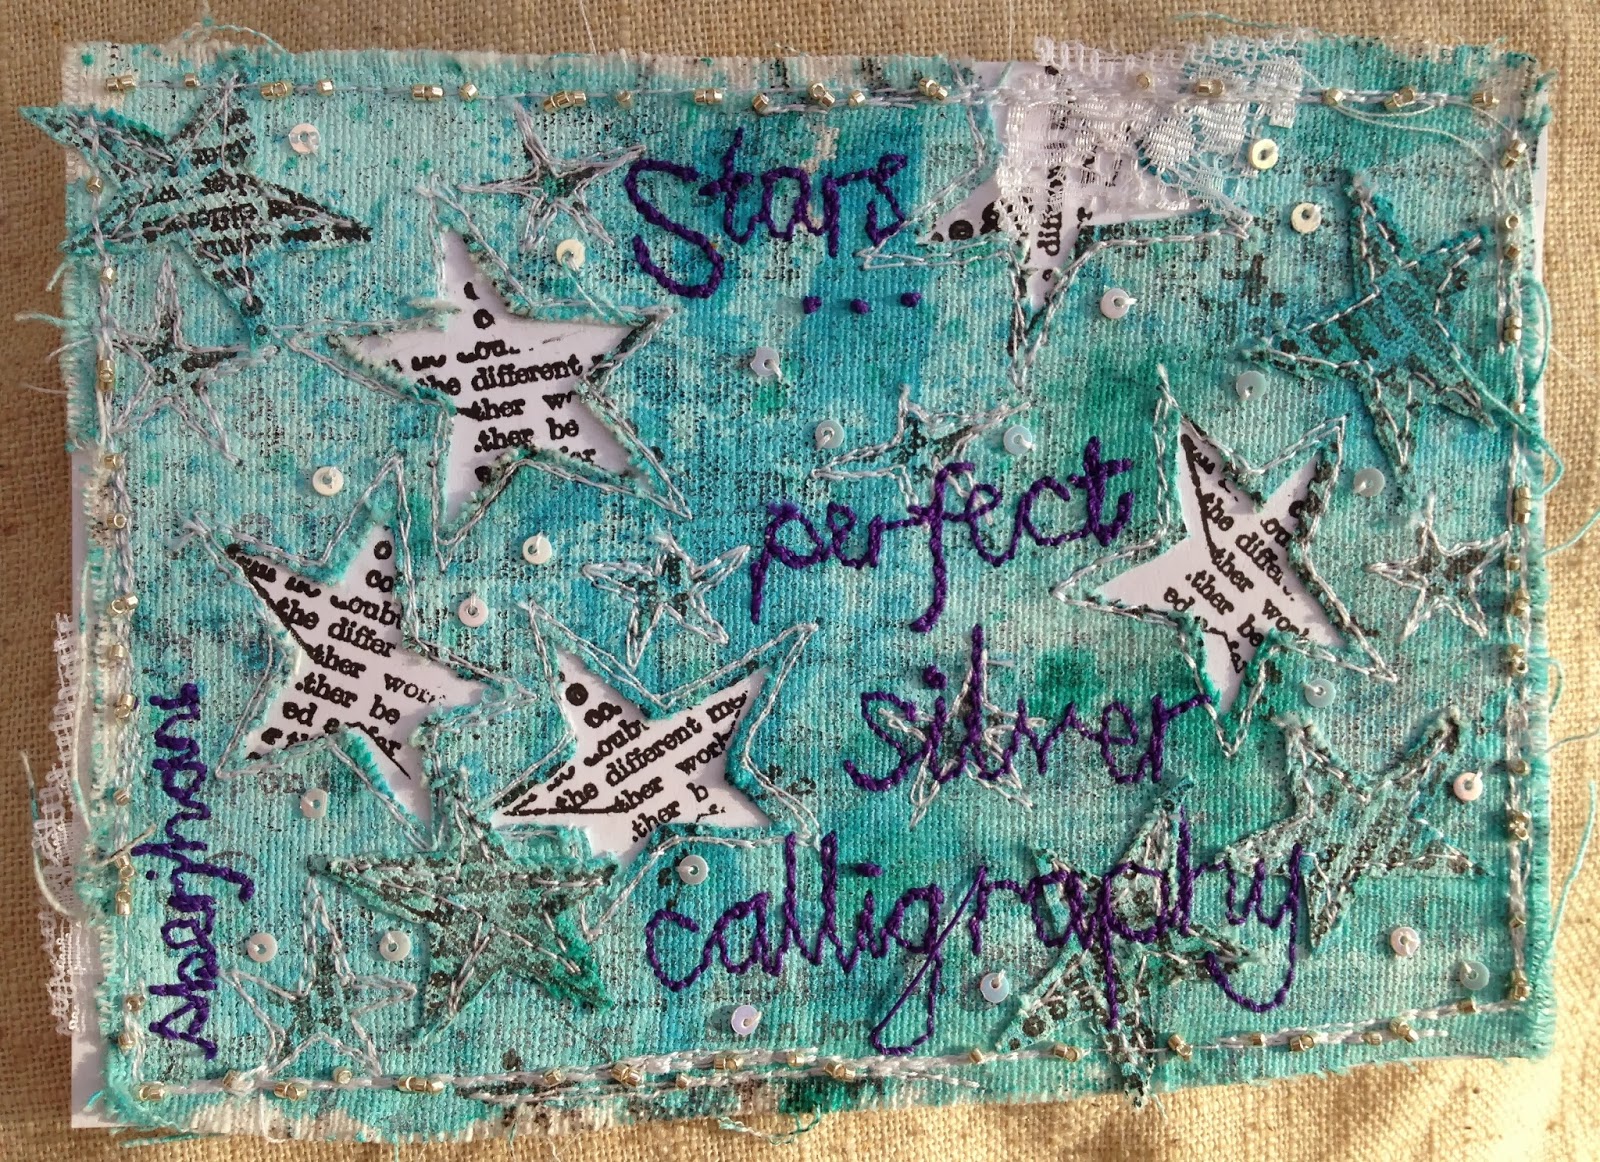
SDC131: my Stars project step by step


I love stars, they're great images to work with, and they're this week's challenge theme over on the Stampotique Designers Challenge Blog.   I took step by step photos as I made this stitched piece so you could see how I got from this ...


to this...

I started with a piece of white fabric that I roughly painted with white acrylic paint then stamped Journey Collage with black ink.  To make this a bit lighter I first stamped it on paper then stamped on the fabric a number of times.


I then put Peacock Feather distress ink and some blue Dylusions ink onto the lid of a plastic box and smooshed my fabric through it.


Jo Capper-Sandon's text star is one of my favourite stamps (and I LoVe the miniature star on the side of the block, such a clever idea).  I stamped this over the fabric ...


... carefully cut out the larger stars with a very sharp pair of scissors ....


.... before laying a piece of white card underneath and stamping the star again through the star holes.  I decided to go for an approximate fit rather than matching the shape exactly...


A touch of free machining around each star ...


... and some more free machining after I found a quote I liked!


 Then a peaceful afternoon spent adding tiny silver beads around the edge of the fabric 'postcard' and some shimmery sequins amongst the stars.


If you're inspired by stars, you can join us here to read more about Sam's  challenge, then link it up here.  We'd love to see your interpretation of this challenge.

Stampotique stamps used:

“Just above our terror, the stars painted this story
in perfect silver calligraphy. And our souls, too often
abused by ignorance, covered our eyes with mercy.”

Friday, 25 October 2013

Stampotique Challenge 122: fabric or lace


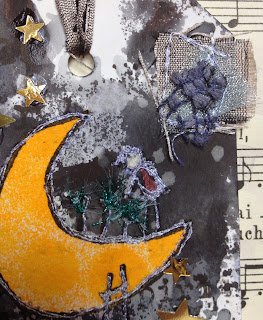
I couldn't not enter this challenge!  I love adding snippets of fabric or lace to tags in particular.   They add that extra bit of texture.  The tag was one I'd mopped up some black soot distress ink on so I darkened it a bit with some black dylusions spray, and added some texture by flicking water (and mopping it off) and stamping my favourite, favourite, favourite text stamp (Stampotique Journey Collage).


I then stamped Stampotique Moon Garden on the tag, paper pieced the moon and added stitching along the stamped lines of the image.  The girl looks a bit odd but I love how the moon flowers look!


I ended up with gold stars on the tag, when I would have preferred silver.  Couldn't find the silver, until a day after making the tag!!  Actually though, I quite like the warmth the gold brings!


Sunday, 29 September 2013

Inspired by ...

.. a new journal, and a challenge!


I've been struggling a bit with my journal recently.  Mainly because working in a larger format I'm trying to create my own main images for the pages as I have few stamps big enough, and I also want to stretch myself and practise my drawing skills.  Sometimes, though, it's good to get back in your comfort zone.


So I decided to respond to Stampotique's 2014 design team call (my stamps are organised by theme EXCEPT for my Stampotique ones, I keep them altogether as I love them so much and they co-ordinate with each other so well) and got out one of my favourite stamps - Mushroom Group


Earlier this week I sewed some bunting for school and enjoyed it so much I decided I wanted to do something 'textiley' with my Stampotique stamps.  After stamping on some white felt, just with a black versamark as it's just a guide, I used a needle felting tool to add some wool before outlining the mushrooms on the sewing machine


I trimmed them, added some stamping and some distress ink to a tag then sewed on the mushrooms.


I googled 'mushroom quotes' and discovered this one,
"I am a mushroom on whom the dew of heaven drops now and then"
John Ford
so put my tag in the typewriter and added it.

Then I used some diamond glaze to add drops of 'dew' to the tag, to the top of the largest mushroom and to adhere the tiny beads.


Not ready to stop I reached for a small journal and found one I bought a long while ago that looks like a paperback book (possibly purchased from Waterstones)


Inside I used more distress ink and added some stamping and stenciling...


I LoVe this size of this journal, and it contains great paper so I'll definitely be using it some more :)


Oh happy days :)

Stampotique's design call finishes tomorrow so there's still time to apply.  I thought I'd apply as Stampotique images are my 'go to' stamps and I love how I can use them for collage, in textile work, on my journal pages, on tags...  They make me happy!!!  Stampotique ask you to describe your style - hmm, not sure what mine is - 'eclectic' springs to mind!!  I love the challenge of being on a design team - it keeps you producing work on a regular basis, encourages you to visit many blogs (as you leave comments re challenges), and brings new friends .... so fingers crossed!!  It's been a while now since I was on the Play Date Cafe design team.  I've been a guest artist for the Artistic Stamper and been published in Art Journaling, Somerset Studio and Stampers Sampler.

Friday, 14 January 2011

a distressing StampMan challenge!

Brenda's challenged us to 'distress' in this fortnight's StampMan challenge so I had a very happy time (I'm glad to say!!!) playing in my journal with my Distress Inks!


After creating a background with Acrylic Paint Dabbers in shades of blue and brown, I added some distress ink by inking the lid of a clear box, spraying it with water, then laying it down on top of the journal.  Doing it this way means I can see where I am adding the ink!


I then placed a blob of 'Weathered Wood' Distress Ink [ from my re-inker bottle ] onto the page and blew it to create a flower like image.  The stem was made with a long drip of ink!


When I put this journal together I included various sizes of plastic pockets used for collecting coins and postcards.  I tore an Amazon box into small squares then collaged each square with images from Tim's 'Mini Muse' stamp set, tissue tape, stitching, words from an old book and scraps of paper.  I just LoVe decorating little tiny bits like this!

At some point I'll add some written journaling, probably in a grey ink, there's plenty of space!

Don't forget to head over to The StampMan Challenge Blog to see what the rest of the designers have been up too, and I'd just like to say an enormous THaNKYou to everyone who joined in the BLoG HoP celebrating your favourite project of 2010.  I'm still visiting people but thanks for all the lovely comments you guys left for me!


LinkWithin

Related Posts with Thumbnails