Showing posts with label zen angelic words. Show all posts

Thursday, 16 October 2014

autumn colours in fairyland


I have been suffering from a very nasty chest infection, with a dreadful sore throat :(  Haven't been able to do much so this journal page has come together over a week, just little bits at a time.  


This month's Lavinia Stamps challenge is to use autumn colours so I decided to have a go with my new Brusho inks.  We have had these in the art cupboard of every school I've ever taught in, but I'd rarely used them ...til now!  


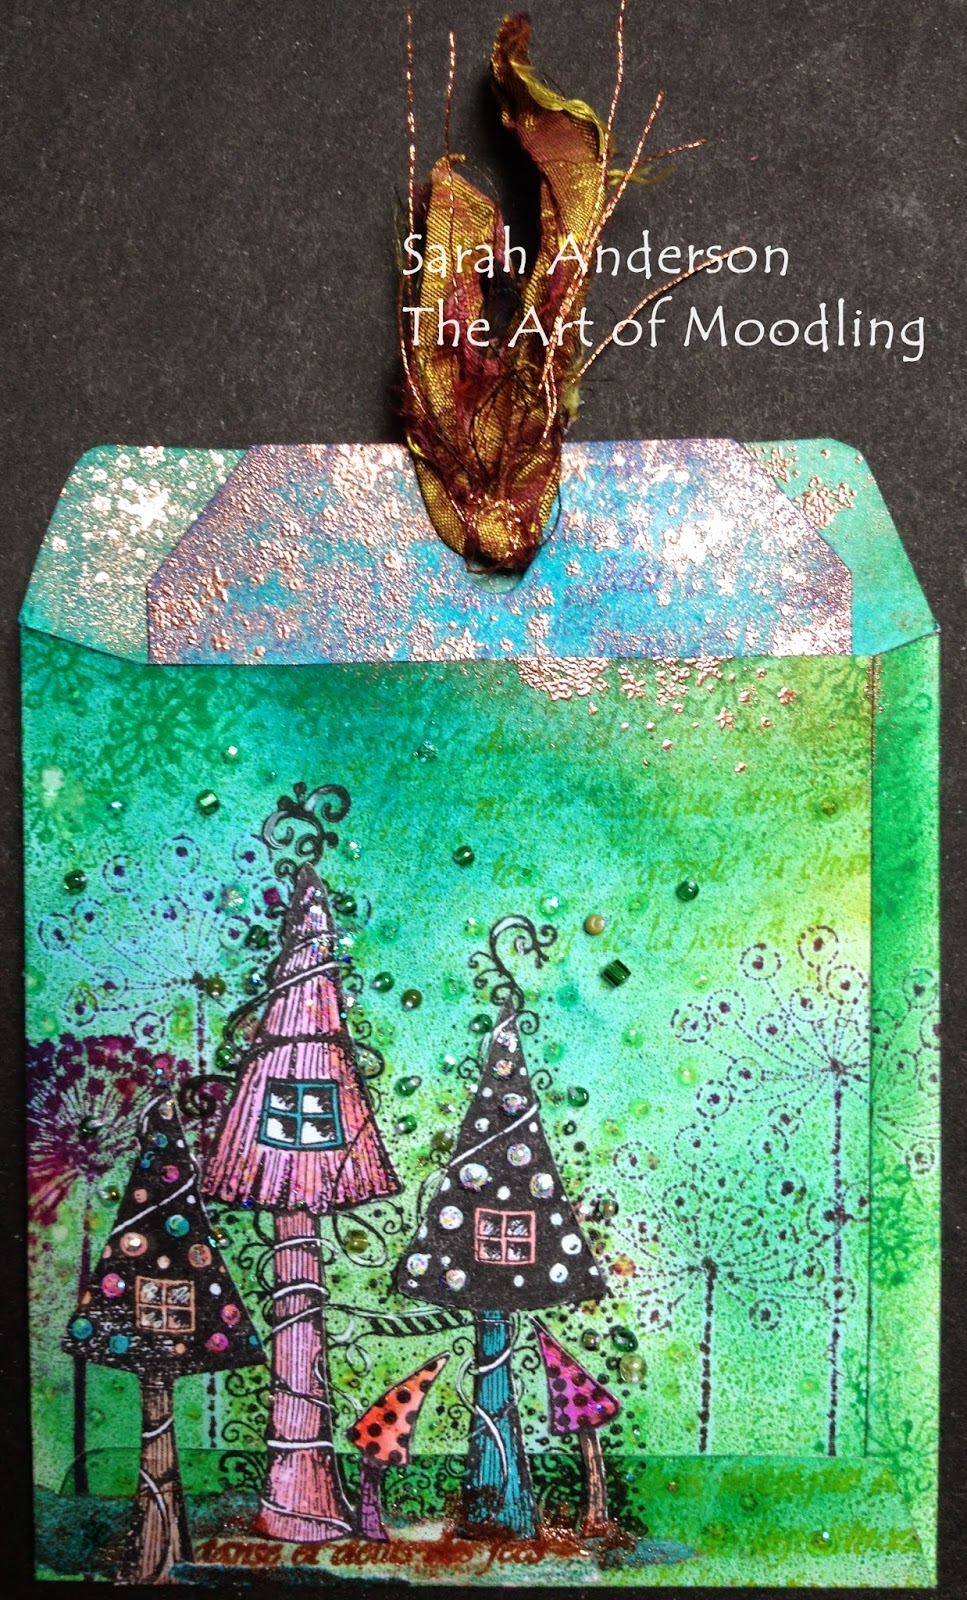
I'm still getting to know them really, but for this project just sprinkled the pages with a variety of autumn colours, sprayed with water, then blotted it off a little with some spare paper.  I have to say, I'm loving the blotting sheets often more than the original!


I've added some 'ink caps', 'dandelions', 'zen plant' and 'angelic words' in the background, and borrowed the windows off the silhouette house pods to  transform the 'spotty toadstools' into fairy dwellings.


I'm particularly pleased with the washing line suspended between the toadstools :)


And whilst they wait for their wings to dry, the fairies are catching dandelion clocks floating on the wind.

Lavinia Stamps have a very exciting new product launch tomorrow - that should cheer me up!!

Monday, 9 June 2014

beaded envelope with a sprinkle of fairy dust

This month's Lavinia Stamps Challenge is 'add some beads or gems' and since I usually add some kind of sparkle to any card I make using Tracey's gorgeous stamps I decided to add some beads.


I was originally going to make a card with a beaded edging but I enjoyed making my envelopes so much yesterday I made another and added beads for texture around the toadstool houses.


Starting with my gelli plate I laid the opened out envelope (my template) underneath so I could see the area I needed to ink, and to help image placement.


You can just about see the ink I brayered on and the stamped images.


I picked up the second lot of colour onto what will be the back of the envelope, then realised I'd done it all backwards so started again, turning the envelope template over under my gelli plate (I can now hear you all shouting at me but don't worry, I get there in the end!!).


Just as I lifted this second print I realised that the first one was fine, it's an envelope, it doesn't matter which side the flaps go to fasten it!!  Duh!!!  Never mind, I now have two lol.  I drew around the brown envelope, cut it and folded it and then forgot to take anymore step by step photos - sorry!!


 I stitched the beads onto the envelope before I attached it altogether (glad at least a tiny portion of my brain was working!!).  Love that bronze embossing powder I found in my drawer ;)


The toadstools were stamped onto the envelope in order to get the fine detail around them, but I stamped and coloured them again on separate card to give them more definition and to cover up the line created by stamping over the flap at the base of the envelope.


The envelope was looking a little empty so I made a tag with a sequinned flower (when I tried this on the envelope it was too much with the beads but I really liked the idea!!)


They don't show up well with the camera but the sequins are two shades of pink and orange.


 Still loving that bronze embossing powder!!


I think it still needs some more tags inside but I'm happy with what I've done so far.


LinkWithin

Related Posts with Thumbnails