Showing posts with label dylusions spray inks. Show all posts

Saturday, 25 April 2015

more inkiness in my moleskine planner

 I finally got my photos sorted :) I can't remember where I saw the idea of using deli paper/greaseproof paper to cover the diary part of my journal but it is a fab tip!

DLP challenge: Under Paper
The above page is one of my favourites.. I just love how it turned out; it got a lot of inspiration from Robin-Marie's work

DLP challenge:  When not to Stop
The following week is when the diary part of my planner fell by the wayside...I was so exhausted post OFSTED!


It's not one of my favourite pages I have to day.  It was a real challenge, to just keep layering and layering...and challenge is good!


I often use a double sized piece of card/watercolour paper for these challenges, then fold them in half and use the DLP challenge on one side and Documented Faith on the other (although I've not been able to manage many of those)..


...but it's there ready and waiting!

DLP challenge: Layers you will love - cover up good stuff

Back to loving my pages again but this time ignoring the challenge prompt!  I completed this one whilst away in Saltburn and used some seaweed from the beach as a mask..


This was another double spread before folding it in half and adding it as a tip in.  I have to say, I highly recommend DLP, and the girls who run it are so generous in their time and energy - it is free!

That's all for today though folks, week 8's pages coming up in another post.  They were inspired by the Cardboard Crush workshop by the DLP team, Art to the 5th Academy; I can recommend it!

Sunday, 29 March 2015

15 min art journal challenge


I've seen the idea of a 15 minute creative challenge on a few blogs so decided to give it a go.


I'm not great at planning out an idea for my journal pages; I journal intuitively... but all my inks, stencils and favourite stamps are within easy reach of my desk so I figured I'd see what happened!


I even managed an action shot within the time!


Time's up!  I was pleased with how much I got done - which included cutting out a couple of stars from underpaper that I ended up not using so they'll go in another project.  Have you tried giving yourself a 15min time limit when working in your journal?


Friday, 14 November 2014

Unfinished!


Sometimes a journal page just sits there for a while ...


...and sometimes that 'while' can be a lonnnnng one!  This page started off with some brown spray which sat in my journal for ages.  I recently added some blue (love blue and brown together), didn't like it so used my solution to most pages I don't like - white paint/spray through a stencil :)


I love those large circles so complemented them with one of Stampotique's new release images - Daniel's circles.  They're stamped over one of my very favourite Stampotique images - numeric.


So now I have a double page spread I love, but is still unfinished...

...and that's okay!  It's just the way of art journaling flows.

Monday, 30 December 2013

a tag and an apron


Being ill just after Christmas is rubbish (I've had some kind of sickness bug) but after a couple of days reading, sleeping, perusing Pinterest and watching i-player (I don't know what I'd do without my i-pad!!!) I was well enough to sit up and play with my inks and stamps.


I used some Tim Holtz stamps from the 'mini muse' and 'purely random' sets, enjoying adding tiny bits of detail to the background of my manilla tag.


I just couldn't resist finishing it off with a scattering of hydrangeas.


Now all the presents are opened I can share some sewing I did just before Christmas for a friend of mine.  She loves 'dottie angel' so I decided to make a dottie-angel inspired apron.  It includes a little up-cycling - I found a denim shirt in my fabric collection and used the button edge to make the ties and the pocket as an extra pocket on the front.


Saturday, 14 December 2013

numbers in my art journal


Started a new journal this morning.  This one's A5 in size.


I stamped some numerals and text, sprayed through a stencil then added patches of ink with my baby wipe, and by directly spraying onto the page.


I had a scrap of paper with 'row of numbers' stamped on it so I added this to the page before piling on a variety of rub-ons and some scraps of numbers from packaging.

Friday, 25 October 2013

Stampotique Challenge 122: fabric or lace


I couldn't not enter this challenge!  I love adding snippets of fabric or lace to tags in particular.   They add that extra bit of texture.  The tag was one I'd mopped up some black soot distress ink on so I darkened it a bit with some black dylusions spray, and added some texture by flicking water (and mopping it off) and stamping my favourite, favourite, favourite text stamp (Stampotique Journey Collage).


I then stamped Stampotique Moon Garden on the tag, paper pieced the moon and added stitching along the stamped lines of the image.  The girl looks a bit odd but I love how the moon flowers look!


I ended up with gold stars on the tag, when I would have preferred silver.  Couldn't find the silver, until a day after making the tag!!  Actually though, I quite like the warmth the gold brings!


Saturday, 12 October 2013

step by step art journal page

I thought it might be fun to take step by step photos of the journal page and share them here.


I've been thinking about doing a page with leaves on for a while now and was recently given a set of leaf stamps.


I decided it might be fun to use these, although they don't lend themselves to an autumn theme, which might have been fun.  I love the colours at this time of year.


First step was to tidy my desk, then I stamped up the leaves to see how they stamped and what they looked like inked up...


I've always loved both ferns and ivy, and have plenty of both in my garden, but decided that today I'd go with the ivy leaves as a theme for my page.


I sprayed a selection of green inks...


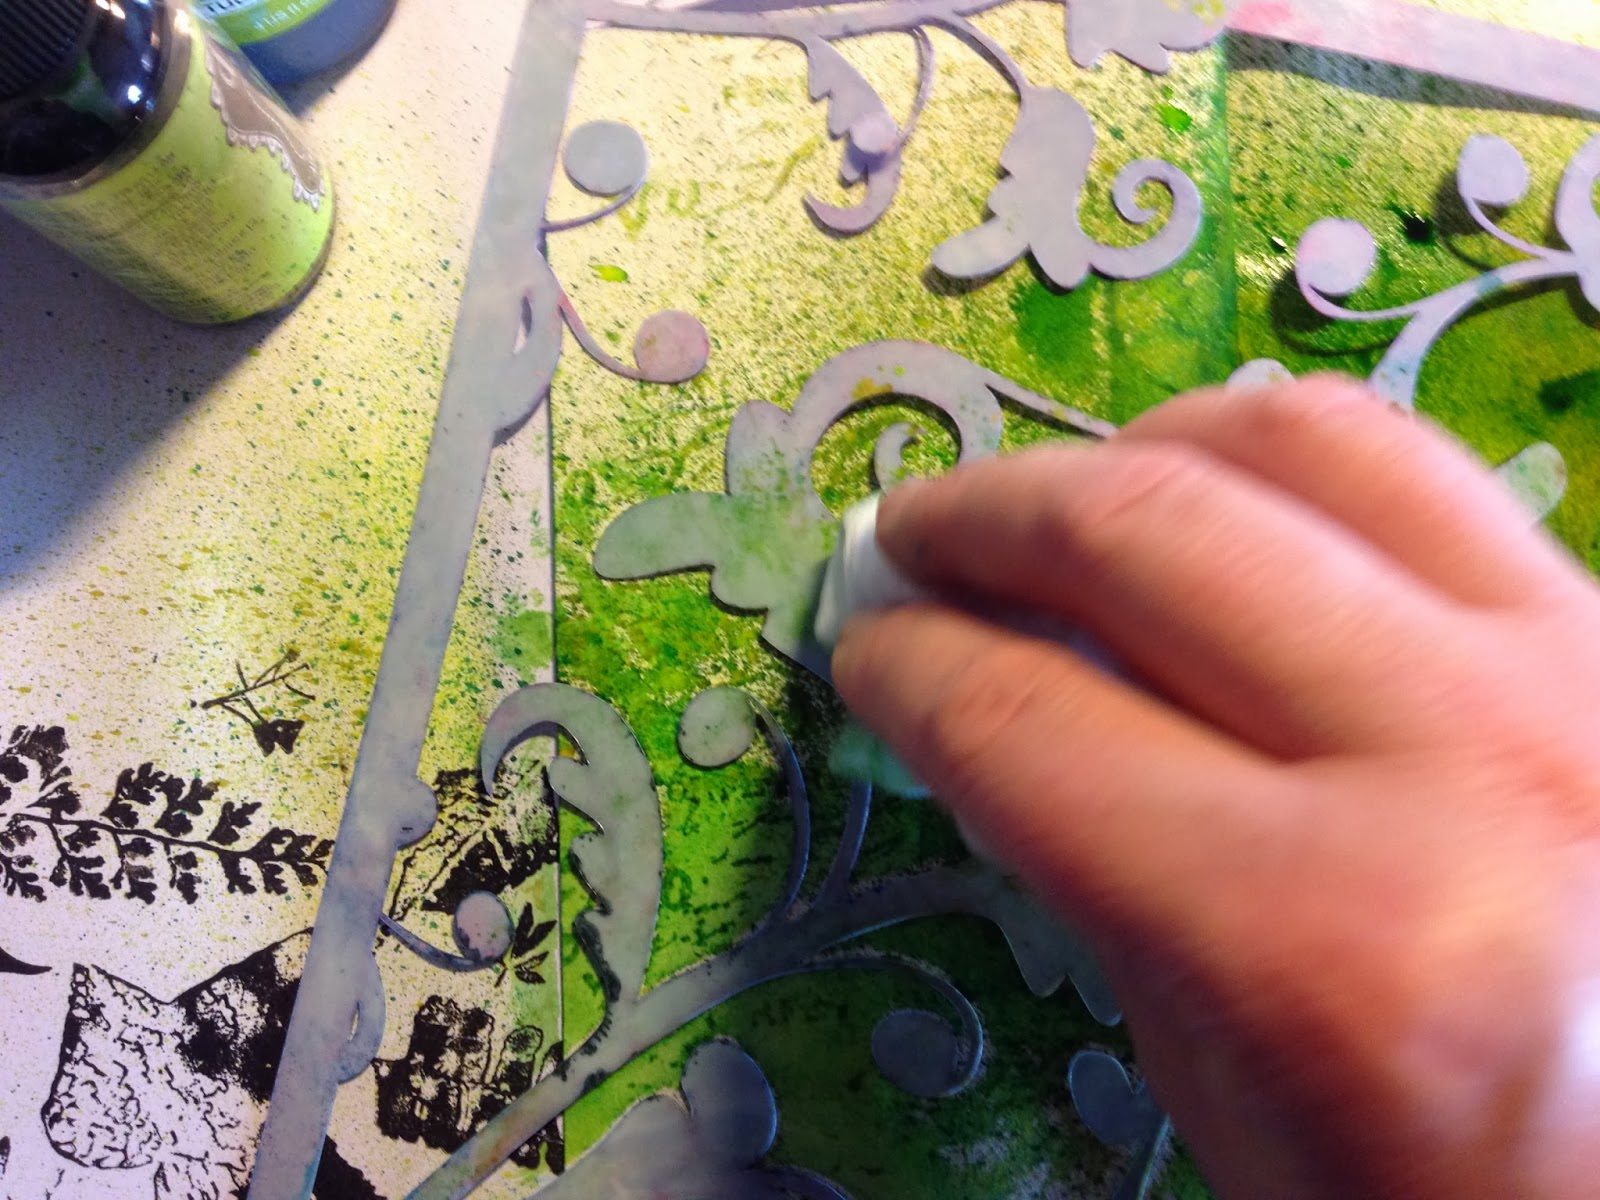
...then pressed a stencil down onto the wet ink.  This gave some subtle texture to the page and I thought it might be nice to stamp some text over the stencil in some areas.


I could only find one green dye ink pad, so made a mental note to add a dark green to my shopping basket next time I'm buying craft supplies.  I stamped the text on scrap paper to see the ink was the right shade and decided to go with it.


I like using unmounted rubber stamps to apply patches of pattern to a page - you can curve them slightly to add randomly shaped areas of texture.


After lifting off the stencil there was quite a bit of ink left on it so I turned it over and used a baby wipe to wipe the ink back onto the page, dabbing small areas too.


Et voila!  I liked that, but now what?


Time to pause, dunk my biscuit in my tea and think about how I'd add the leaves to my page.


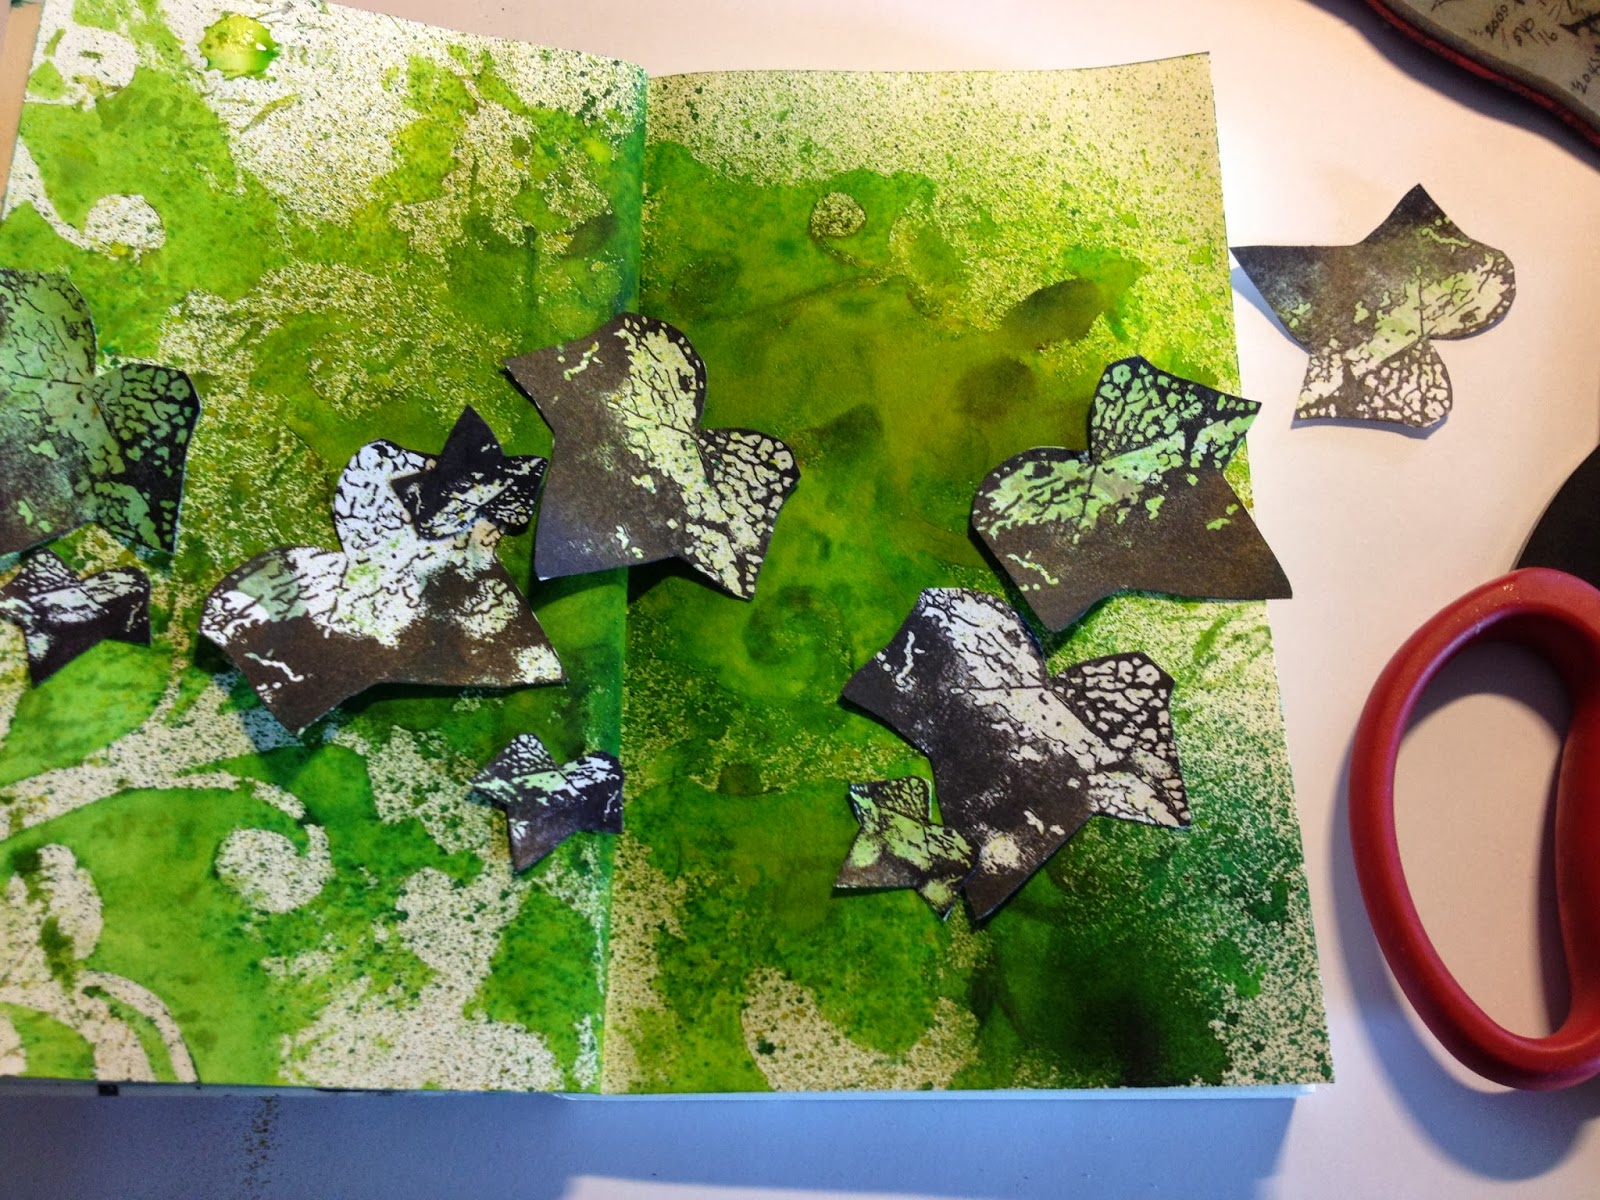
I'd wiped some ink from my stencil onto the scrap paper I'd stamped on earlier so decided to cut out the ivy leaf....


... and I was able to make some more green paper up quickly by wiping over the oversprayed ink with a wet baby wipe.


The leaves looked good but needed something more so ...


... I stamped some directly onto the page.  Then came a bit of an 'eeek' moment, when I didn't like how the leaves were sitting together.


A few deep breathes later and I decided they looked ok and they just needed some depth.


A quick look amongst my newly tidied pens etc and I easily put my hands on a charcoal pencil and added some shading under the leaves.


What I couldn't lay my hands on was my blending tool, but a cotton bud did the trick just as well, smudging the charcoal to create shadows.


I fancied adding some curly tendrils but didn't want to spoil the page so decided to blot away some ink through a stencil to see if I liked the design.  I was tempted to draw through the stencil with a green pen.


I did like it, but changed my mind about the pen.  I rarely clean my stencils which means I often add unintentional colours to my pages... and today was no different.  I loved the browny orange hints and continued deliberately adding them around the page.

Happy journaling everyone!!

LinkWithin

Related Posts with Thumbnails