For the past few years I have been writing Step by Step projects for Lavinia Stamps but you'll now find me posting more regularly as a member of the design team, something I'm really thrilled about.
Each month, Lavinia Stamps runs a Creative Challenge, with a different theme, and the chance to win £40 worth of their stamps. The winner is chosen entirely at random using Python Random Generator, and you don't need a blog to enter, just click on the link here to find out what to do.
For this month's theme of 'A Place to Rest' I had a play with Tracey's technique of using Colorbox inkpads and Brusho inks on the gelli plate. If you've not seen the videos, you'll find one here, but I warn you, it's addictive!! I also played with White Brusho ink for the first time (on her wings) and the Brusho Sprinkle Its, which add a touch of sparkle.
Somewhere I find rest is playing with paper, inks and stamps so I also made a little matchbook for this challenge.
Again I used a gelliprint created with Colorbox ink and Brushos. You can just see a smidge of the previous project's gelli print in there too.
Inside I stacked a variety of inked, stamped mini pages, secured with a staple. these are around 4.5cm square + so are teeny, tiny. I love working small.
I am truly honoured to have been invited onto the Crafty Individuals' design team, along with my good friend Chris of Pearshaped Crafting blog. As a full-time special needs teacher the time I have available to 'make' is limited, and I am thankful for Jean and Malcolm's understanding of this. It is wonderful though to be back blogging; and I am hoping that this will keep me on my blog a bit more regularly rather than just on Instagram!
I recently made some cards using the new designs and snapped some step by step photos along the way.
I am taking part in a challenge over on Instagram, set by the amazing Birgit Koopsen, to use a different product every day in October. This day's product was my poor neglected distress markers. After creating a Distress Oxide background with Picked Raspberry and Salted Ocean, I stamped text in the background, part of the 'Noel Border' then used the distress marker to stamp the snowflakes from the main stamp image.
I use parts of the stamp by inking up the required area then removing the ink with a baby wipe from the areas I don't want to stamp with. Here I selected one of those tiny stars...
...which I then stamped on the inked background, along with some of the larger text stars.
I stamped the image onto white copier paper a few times and cut out the areas shown.
I love those stitchy marks and emphasised them using my sewing machine.
A gold confetti star on top of the tree..
...and some snowy effects added using Stickles completed my card.
I really love the collage stamps that Crafty Individuals design. They have sooo many little elements that you can use in so many different ways. The stamps used in this project were:
And then, because I was having so much fun, I made a little tag too!
Thanks so much for reading, and I hope nobody collapsed in shock when they spotted I'd blogged lol
This is a really photo heavy post to show each step. At some point I will get organised so I can do videos instead but this is in response to someone new to all this on how to produce these inky tags!!
I used Distress Oxides in Picked Raspberry, Salty Ocean and Spiced Marmalade to create these inky tags. Distress Oxides are a combination of pigment and dye inks and are fantastic to play with. They are beautiful to stamp with as they have a felt pad, rather than a spongy foamlike pad typical of pigment inks, which give a firm pad to stamp from.
To start I tapped the Spiced Marmalade Distress Oxide onto a plastic bag. You can also use an acrylic block or a glass worktop saver!
Spritzing the ink causes it to form these bobbles of ink.
I swished and tapped a luggage tag from Tesco into the ink (the least shiny side of the tag)....
... which creates this effect.
I tap the excess ink leftover onto my copier paper. I keep a pile of this under where I'm working.
Spritzing the tag with water has you heat it with a heat gun (for those new to stamping, this is not a hairdryer or paint stripper!!) creates this lovely texture.
Here you can see the difference between spritzing and not spritzing!
Splashing water onto the tag also gives a different effect but I do not have the right hand action for flicking water onto paper so I spritz it into my hands then clap merrily over the inked area!
I then dabbed the water droplets with tissue as I didn't have any kitchen towel to hand (I usually roll this across)
I repeated the ink process with Picked Raspberry ...
then Salty Ocean.
Tapping a Distress Oxide inkpad onto an acrylic block and spritzing it with water means you can then pick ink up with a damp paintbrush ...
and, by tapping the paintbrush with your other hand, create gorgeous splashes of ink.
I used the top and bottom of a tumbler to stamp circular marks on the tag...
... and the edge of an acrylic block to add lines.
I stamped the word 'grace' along the edge of the tag, continually stamping until the stamp ran out of ink. This gives a lovely texture.
I used my Versafine ink pad to stamp the above truth ..
and tore up some of the inky copier paper to add underneath the words, using a simple glue stick.
The little daisies from the 'Bloom' stamp set are easy to cut out and add to the tag.
Using different stamps gives a tag a different theme!
Well done if you made it this far. I hope it was useful. I am a Creative Bea Ambassador so received some of these stamps as a gift x
What an absolute honour it is to have been asked to be one of Jo Firth-Young's Wingmen for her new stamp launch, alongside the fabulously talented Keren Baker. This is a long post as I'm sharing four projects, one for each stamp set!
It has been so hard keeping it a secret from my stamping buddies but the day is finally here so I can share the projects I've made with these wonderful stamps. Jo Firth-Young and Keren Baker are also sharing their amazing samples over on their blogs, so don't forget to hop over there for more inspiration.
JOFY 49
I just love this poppyseed-like flower, and those tiny ones are itching to be stamped on stickers and in my planner. I also really like Jo's handwriting and love the effect you get when repeat stamping it until all the ink has gone from the stamp. It makes for a great textured background.
To make this tag I used Paper Artsy Fresco Paint in Turquoise, Zucchini and Hyde Park and placed small blobs of each colour on a mat. I added water to each 'blob' with a paintbrush so that I could 'smoosh' the tag through the paint. I use this technique a lot with ink and wondered if it would also work with paint..
.. it did! And makes for a fabulous watery background.
After repeatedly stamping the word 'wildflowers' with Archival Cornflower Blue I used the same ink through stencil 038 JOFY. I then set this aside whilst I made the flowers.
I coloured some paper using Paper Artsy Fresco Paint in Bougainvillea and Cherry Red, smooshing it around with a baby wipe, before stamping the word 'wildflower' with Archival Magenta Hue. I also created some green paper using Paper Artsy Fresco Paint in Zuccini and Hyde Park in the same way.
I inked up the whole of the written phrase with a black Versafine and stamped it until the ink ran out to create a black and white paper.
I then stamped and fussy cut the flowers as shown.
After layering the flowers on the tag I added some shading using a simple pencil.
And finished off the tag with a snippet of pink paper and the word 'wildflowers'.
JOFY 50
Jo's stamps often make me want to add stitching to my projects and this set is no exception.
step 1: Paint a strip of card with Paper Artsy Fresco Paint in Zuccini.
step 2: Take a slightly thinner strip of card and stamp flowers using the black Versafine ink pad.
step 3: Paint between the flowers with Paper Artsy Fresco Paint in Turquoise and paint the flowers with Bougainvillea, using plenty of water to give a watercolour effect.
step 4: Using a deep red embroidery thread, add french knots to the flowers. Use a green thread to add tiny stitches as shown. Use the end of a paintbrush dipped in Paper Artsy Fresco paint in Zuccini to add tiny dots of green.
step 5: Layer these two pieces as shown and add stitching with a sewing machine.
step 6: Stamp three butterflies using a black Versafine inkpad, cut out and add to card. I worked out where they would go then stamped them on the card so I didn't need to cut out the antennae!
JOFY 51
For this next stamp set I got out my gelli plate. That sunflower is a fabulous size for journal pages and although I've made a card for this sample, I'd love to repeat this in my journal.
I started by adding a couple of blobs each of Paper Artsy Fresco in Coral and Vanilla to the gelli plate and combining them with the brayer.
I then stamped the uninked sunflower on the plate, lifting off the paint. Once the paint was dry on the gelli plate I brayered vanilla ink over the top before taking a print....
.... then overstamping it with the sunflower in Paper Artsy Fresco in Coral. This formed the background for the card.
I coloured some paper using baby wipes and Paper Artsy Fresco Paint in Coral, Bougainvillea and Turquoise and stamped the sunflower on it with black Versafine ink.
I stamped the sunflower again, this time on paper coloured with Paper Artsy Fresco Paint in Vanilla. I only used the middle of the flower so didn't need to colour to the edges.
After cutting out the sunflower I added the Vanilla coloured middle and enjoyed painting the small circles. One of my favourite techniques (that I learnt whilst working at a paint-a-pot place!) is to add tiny dots by dipping the wrong end of a paintbrush into paint - they come out perfectly!
Finally the leaves just needed stamping onto the background with black Versafine ink (this means that the fine lines are still present when you add the green leaves) ...
the background mounting onto white card, leaves stamped onto green painted paper and added, and the flower and words added as shown.
And finally (and thanks so much for hanging in there with me for this long post, hopefully it's been worth it!) these stunning flowers..
JOFY 52
This set contains one of my favourite images - that tiny scribble at the top of the set!
It makes for the most amazing backgrounds, and I used this effect for the flower on this card and throught the stencil.
I used my gelli plate again for this card, putting Paper Artsy Fresco paint in Turquoise on one side, Snowflake on the other, and blending them with my brayer.
Laying stencil 042 {by JOFY} on the gelli plate first I then laid a piece of card over the top and picked up the print through the stencil.
Now for that favourite stamp of mine, stamped repeatedly over a small area, then the flower stamped over the top, cut out and shaded with a soft pencil.
I used it again on the gelli plate, laying down a couple of greens (Zucchini and Hyde Park) in Paper Artsy Fresco paint, then lifting off the paint with a clean stamp. I then stamped the flower in black Versafine ink.
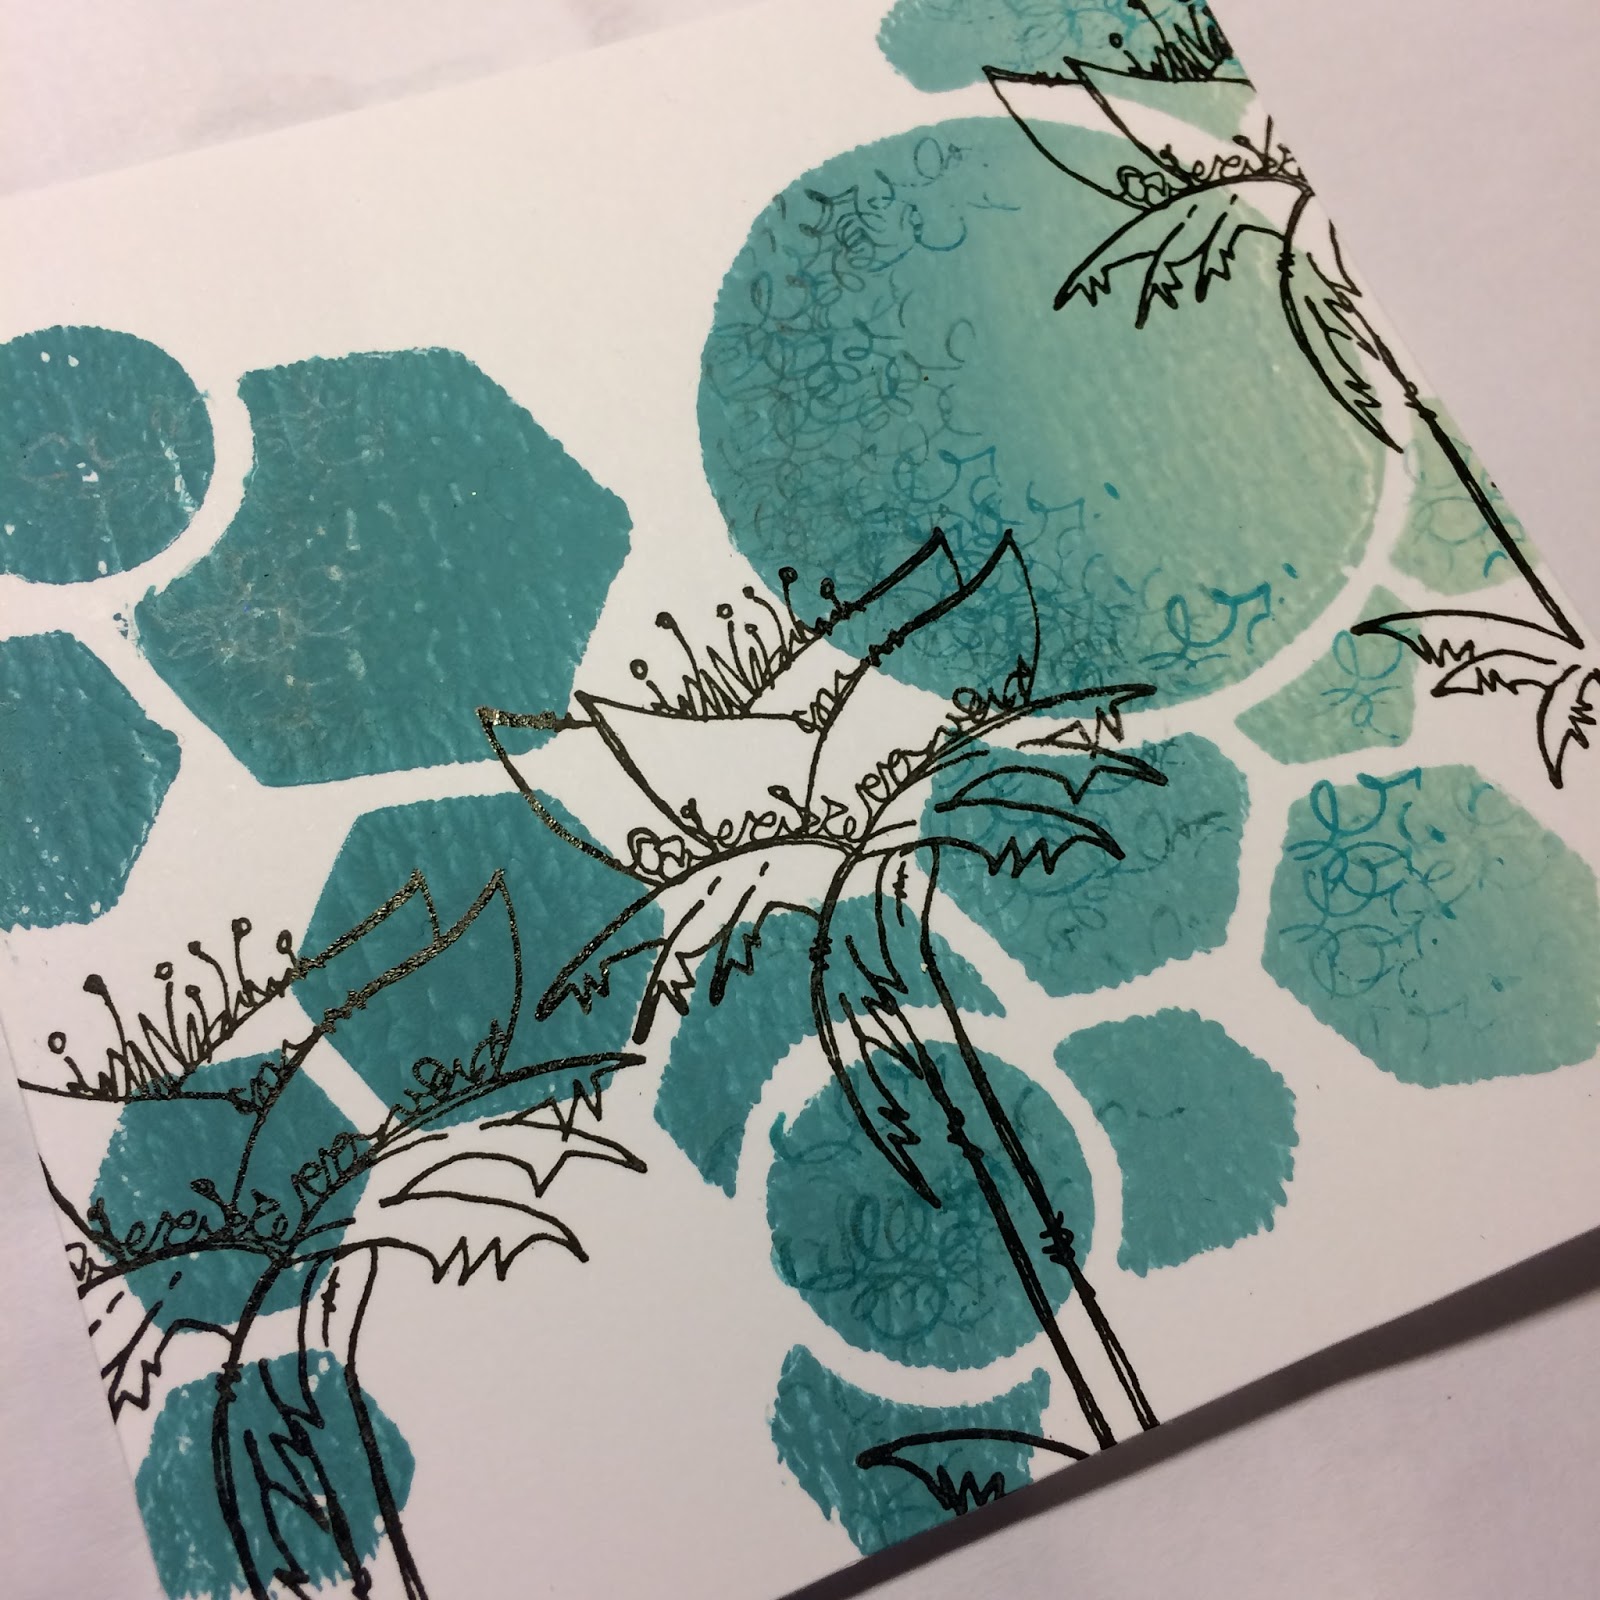
I laid the stencil back over the now dry gelli print and stamped through the stencil with the scribble stamp using Archival ink in Cornflower Blue as shown, before stamping the flowers in black Versafine ink.
I added the fussy cut green leaves and the flower head using a pritt stick..
... before finishing off the card with the words and some splashes of paint over the top of the flower.
I really hope you've enjoyed seeing how these projects came together as much as I enjoyed making them! Don't forget, there are more step by steps to more projects by the fabulously talented Jo Firth-Young and Keren Baker, and all the information is also on the Paper Artsy blog. I'll leave you with the video showing all the samples together: